DIY Shiplap or How to Hide TV Cords
/Like many of us, my friend Brittany in Phoenix is a first-time home owner on a budget. Also like a lot of us, she appreciates beautiful things, striking pieces, and the Seattle Seahawks (maybe just the two of us do). I spotted her pictures of her DIY shiplap wall on Instagram and asked her to share a tutorial with all of us! So, unless you are the luckiest person alive who already has shiplap in their home, buckle up and learn how to add some for less than $150 (huzzah!). Since having bought a house, I feel I have a serious addiction to HGTV. I consistently am watching any and every show and determining what project can be applied to our house (my husband, Doug, loves this). In particular, I am OBSESSED with Chip and Joanna Gaines and their show, “Fixer Upper.” Anyone who has seen this show knows 1) everything they do is beautiful and 2) they love shiplap. #shiplap

We have a huge wall in our living room that I have been dying to make a focus wall. It is 8ft tall by 24ft long and was destined for shiplap, but I was scared to try it. Well Doug decided to mount the TV on the wall (men and their TV’s). I was fine with this TV mounting plan until he went to run the wires through the wall. See the thing about Phoenix is that a lot of the homes here are brick, and what that means is that you have about 1-1.5in between your drywall and the brick... i.e., not enough room to run the cords in the wall. Doug didn’t care at all, he said no one would notice all the wires running down the wall (YA RIGHT!!!). As we were trying to think of ways to hide the cords that would be super hideous, I decided this was the time to try some shiplap.
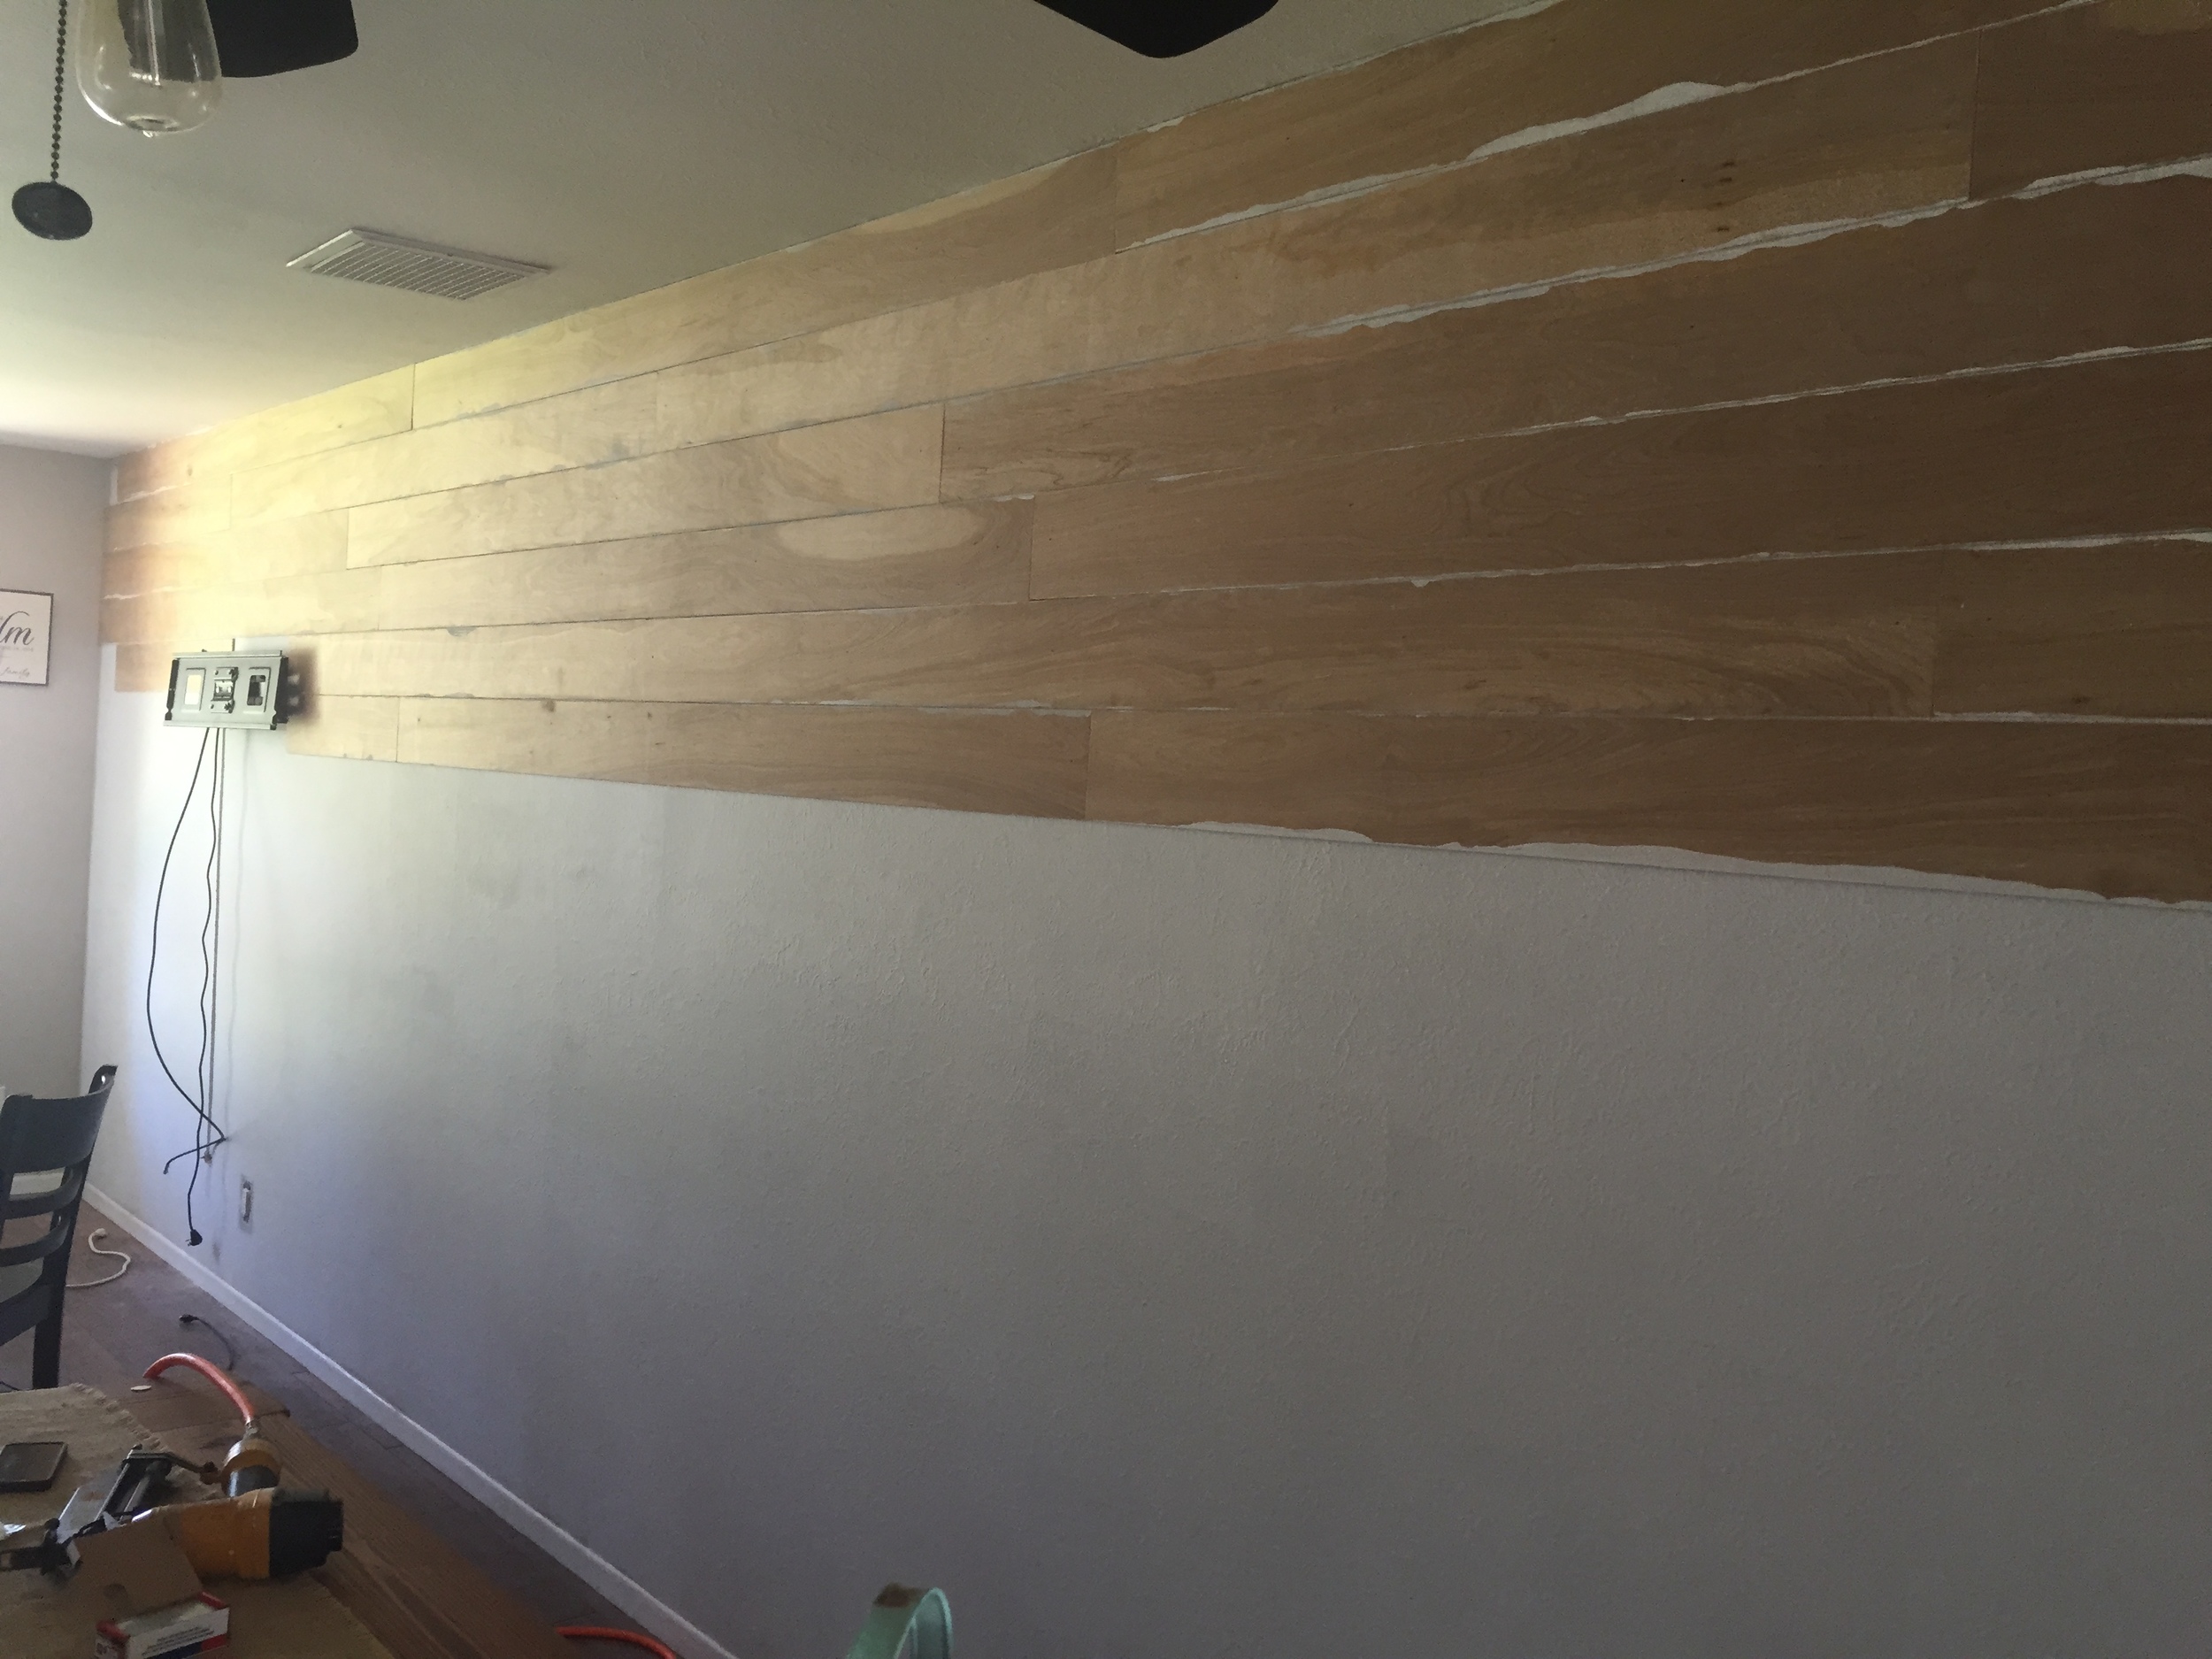
My thought was that if we carved out a “cubbie” for the cords, we could then apply the shiplap over top. So we carved out a 1.5in wide strip that went from the tv down to the outlets and stuffed the cords in their new home.
Second slight snag…shiplap for a wall this size was way out of the budget. So I did what every one probably does these days: I took to Pinterest. I did tons of research on DIY ways to get the look of shiplap. What we ended up finding would work best for the size of the wall and the budget we wanted to stay within (under $150) were 4ft×8ft sheets called plywood underlayment panels. Home Depot had these panels and they were only $13 per sheet – super cheap!! They were also much smoother than normal plywood so they would be easy to paint!
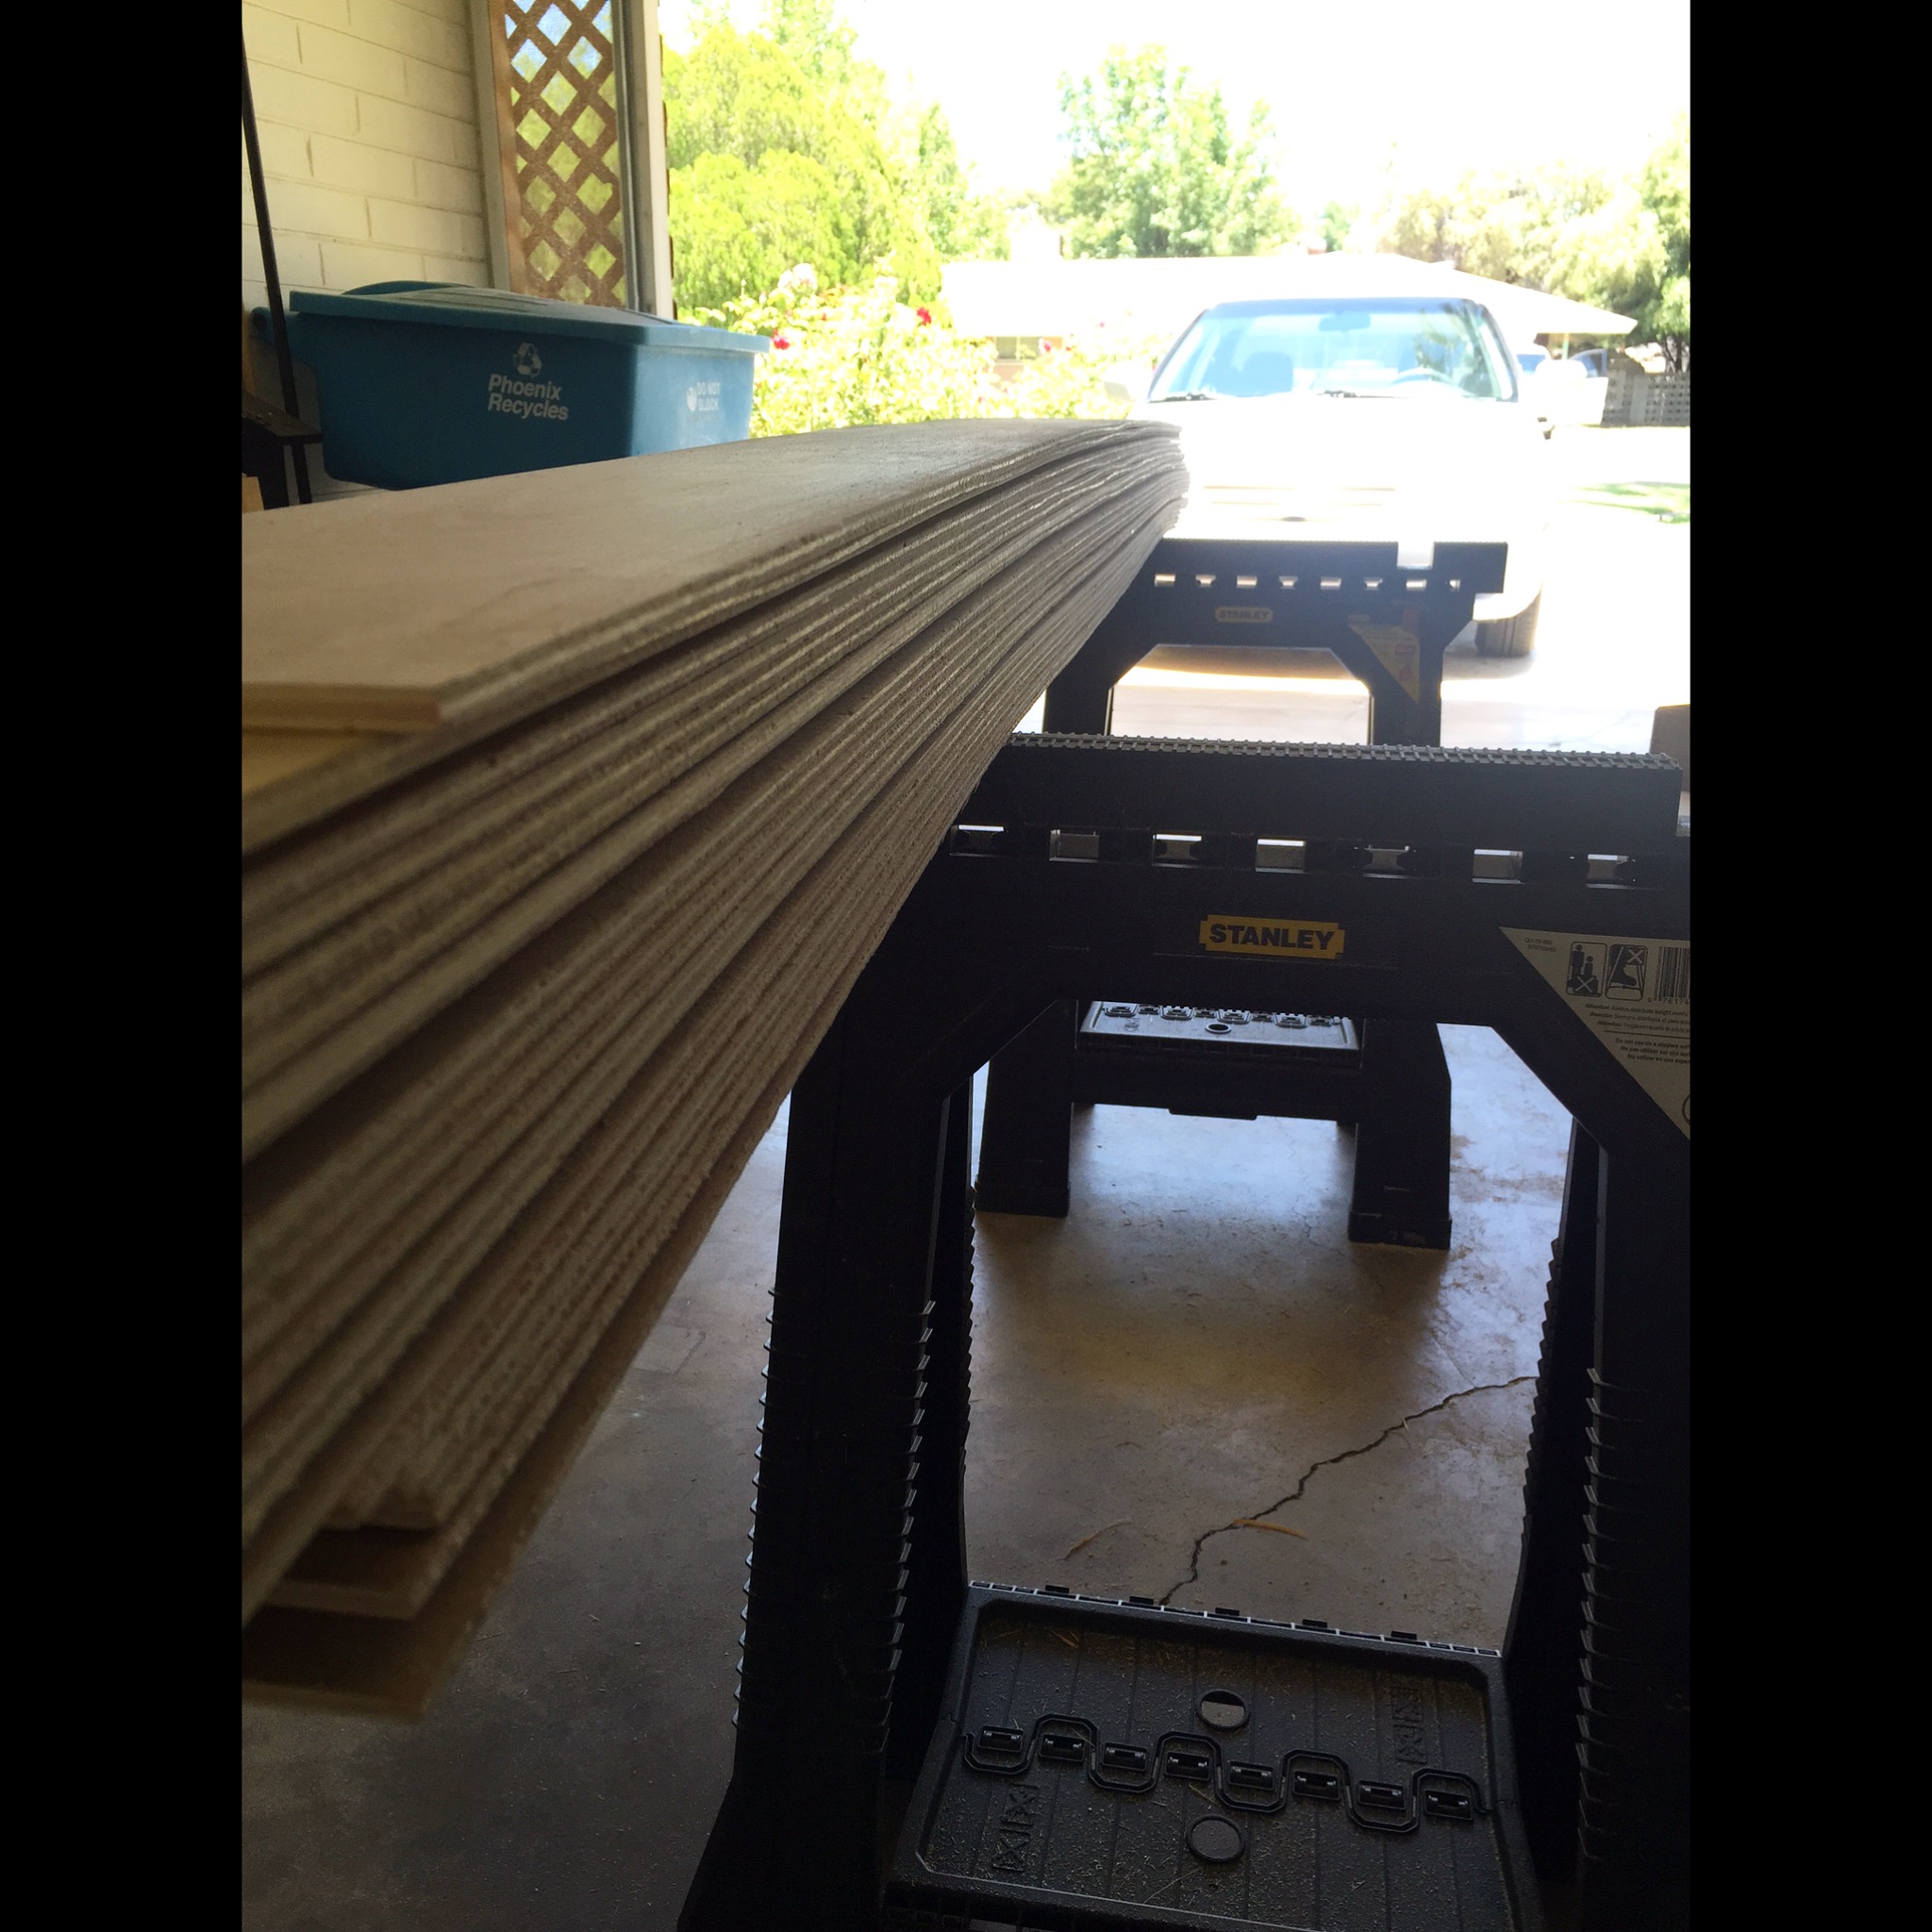
We measured the square footage on our wall and ended up buying 6 sheets (but had to go back and get a 7th for some trim work). We had Home Depot cut the panels into 6-inch strips (length wise, so each strip was 6″ x 8ft) and then strategically got them into the Honda.
When we got home we had already primed the wall white (because there will be gaps that you will be able to see through). We also gave each board a light sand on the corners before putting it up, mostly to smooth out the cut edges made at Home Depot and primed the small edges because we knew our paintbrush wouldn’t fit in the cracks.
We decided to start with the top row, most blogs say to start at the bottom but we're rebellious like that. We also decided to not glue the boards in case anyone ever wants to take them down. Back to the top row, we used the nail gun (borrow from a friend) and air compressor (rented from HD) to put a few nails in each board (at least three) and we checked and double-checked the boards with a level. Between each row we used two nickels as spacers betweens the boards. I didn’t want the seams of the boards to match up so we randomly cut the boards into varying lengths after that first row. It didn’t work out perfectly so we did have to cut some smaller pieces for the ends of the rows but you’d never notice now that it’s done and painted.

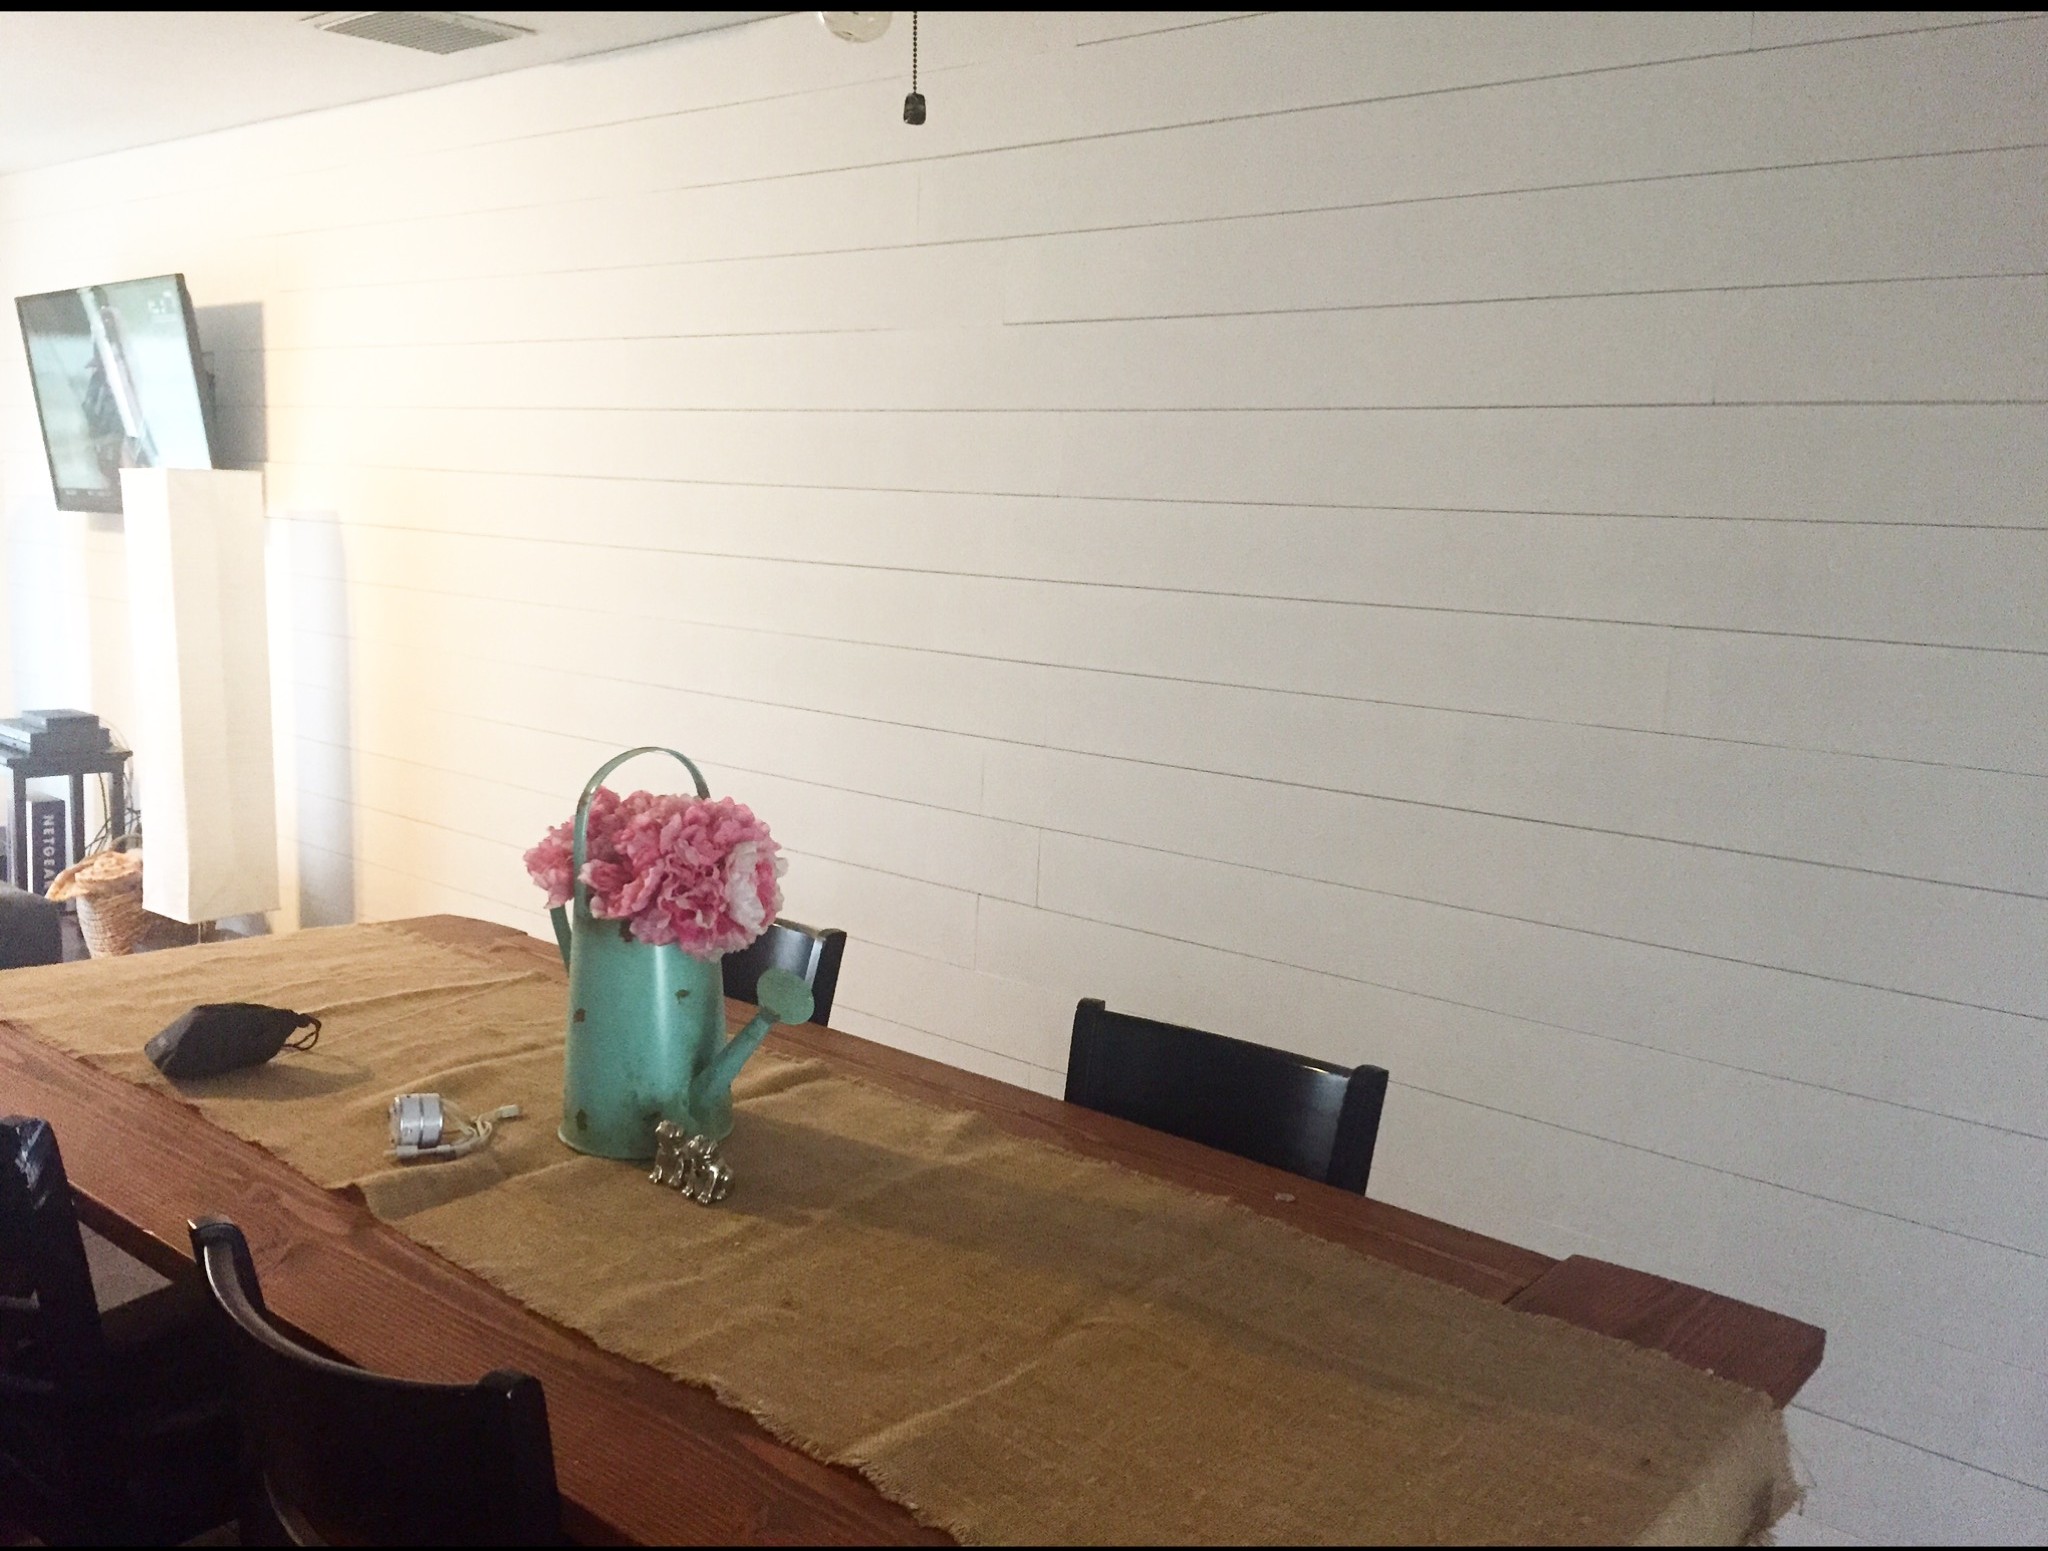
Then we filled all the nail holes with spackle and gave the whole wall a light (very light) sand before painting. When we were done (prior to painting we even kind of liked the unfinished look, if we still lived in Washington and happened to live in a cabin in the woods, but sadly, we don’t. #phoenix). Then we started painting. We used just the base Behr Ultra White paint and a 6in roller. It took two solids coats of paint but once we were done we loved the way it looks and how well it hides those TV wires!
Thank you so much for sharing this awesome tutorial with us Brittany! You can see more of her home and life goodness on her instagram!