DIY Built-In Desk
/Sorry y'all. No final kitchen reveal as promised today. Instead we are jumping to a different space under construction: My office. Bedroom number 2 of three upstairs. It's been my little space for my clothes and all of my stuff since we moved in. But alas, having a baby is about compromising and changing and making space and so I am gladly welcoming LB into "my space" to create our combined office. The desk may go, but the clothes? They stay. :) Speaking of the desk... that big blue bad boy was PERFECT for law school. It was a Goodwill score that we painted before school started and it served me well throughout all the studying hours that were mandated for my little ol doctorate. But the time had come to take it apart and scoot it along.
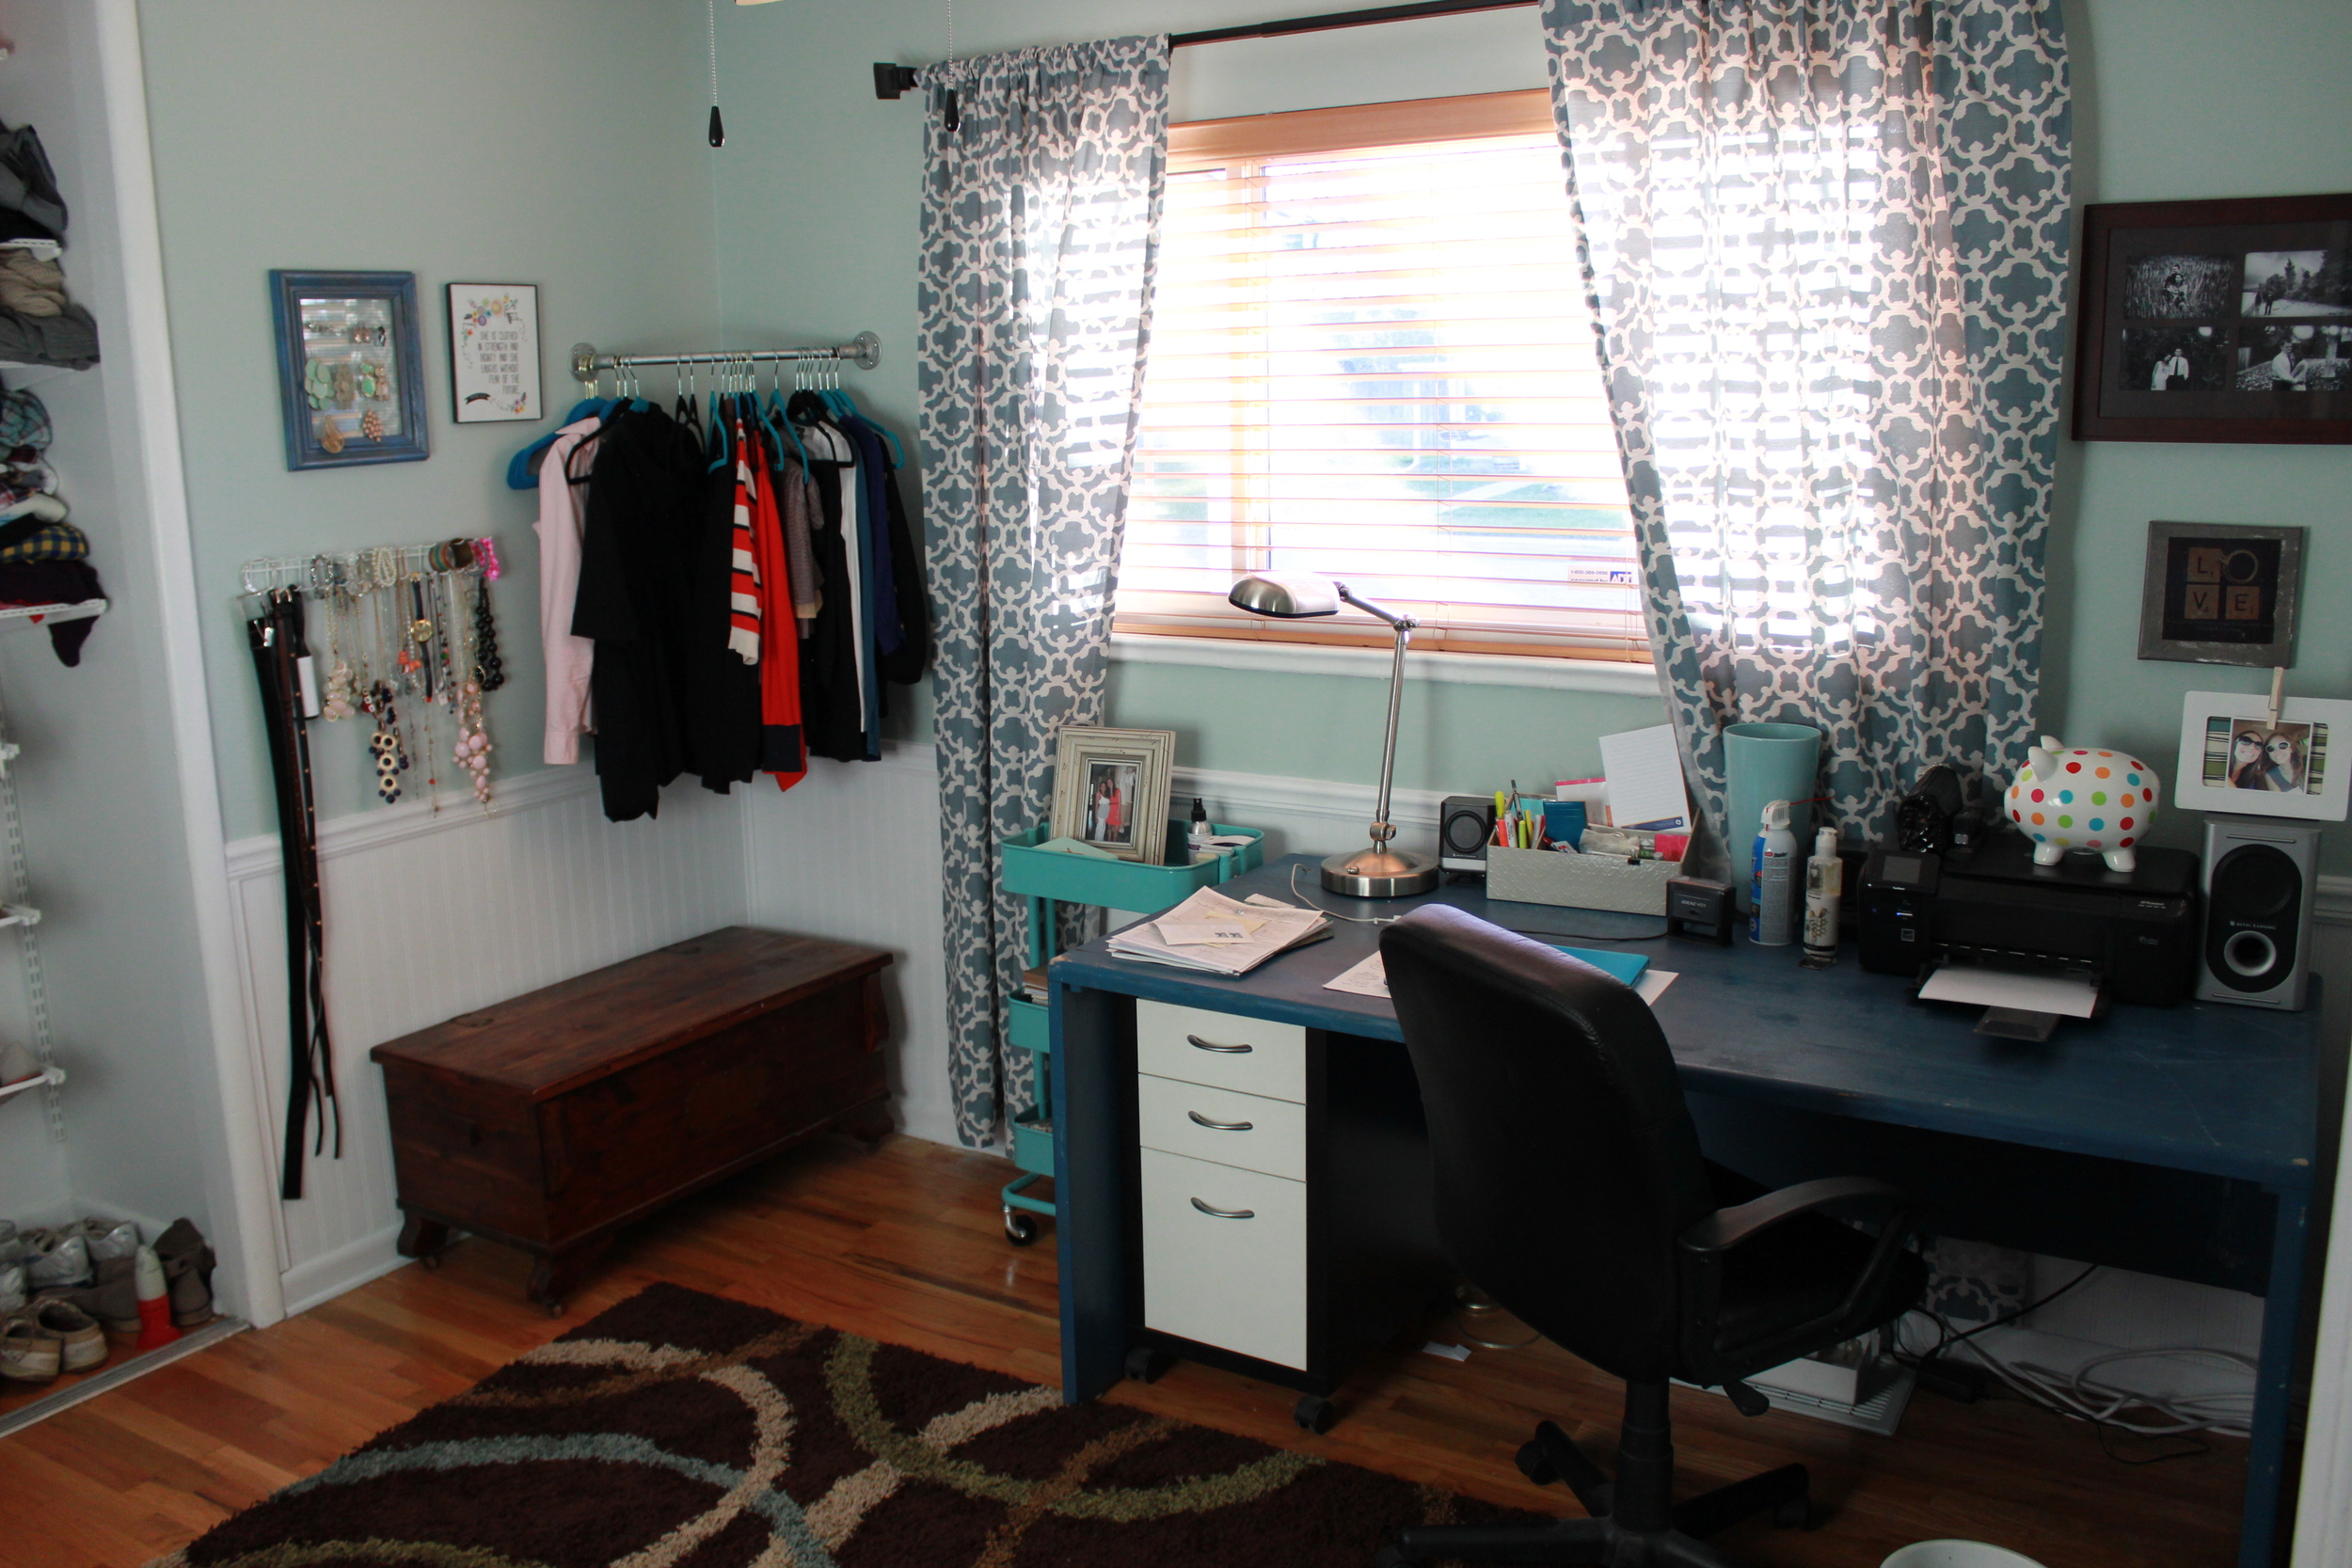
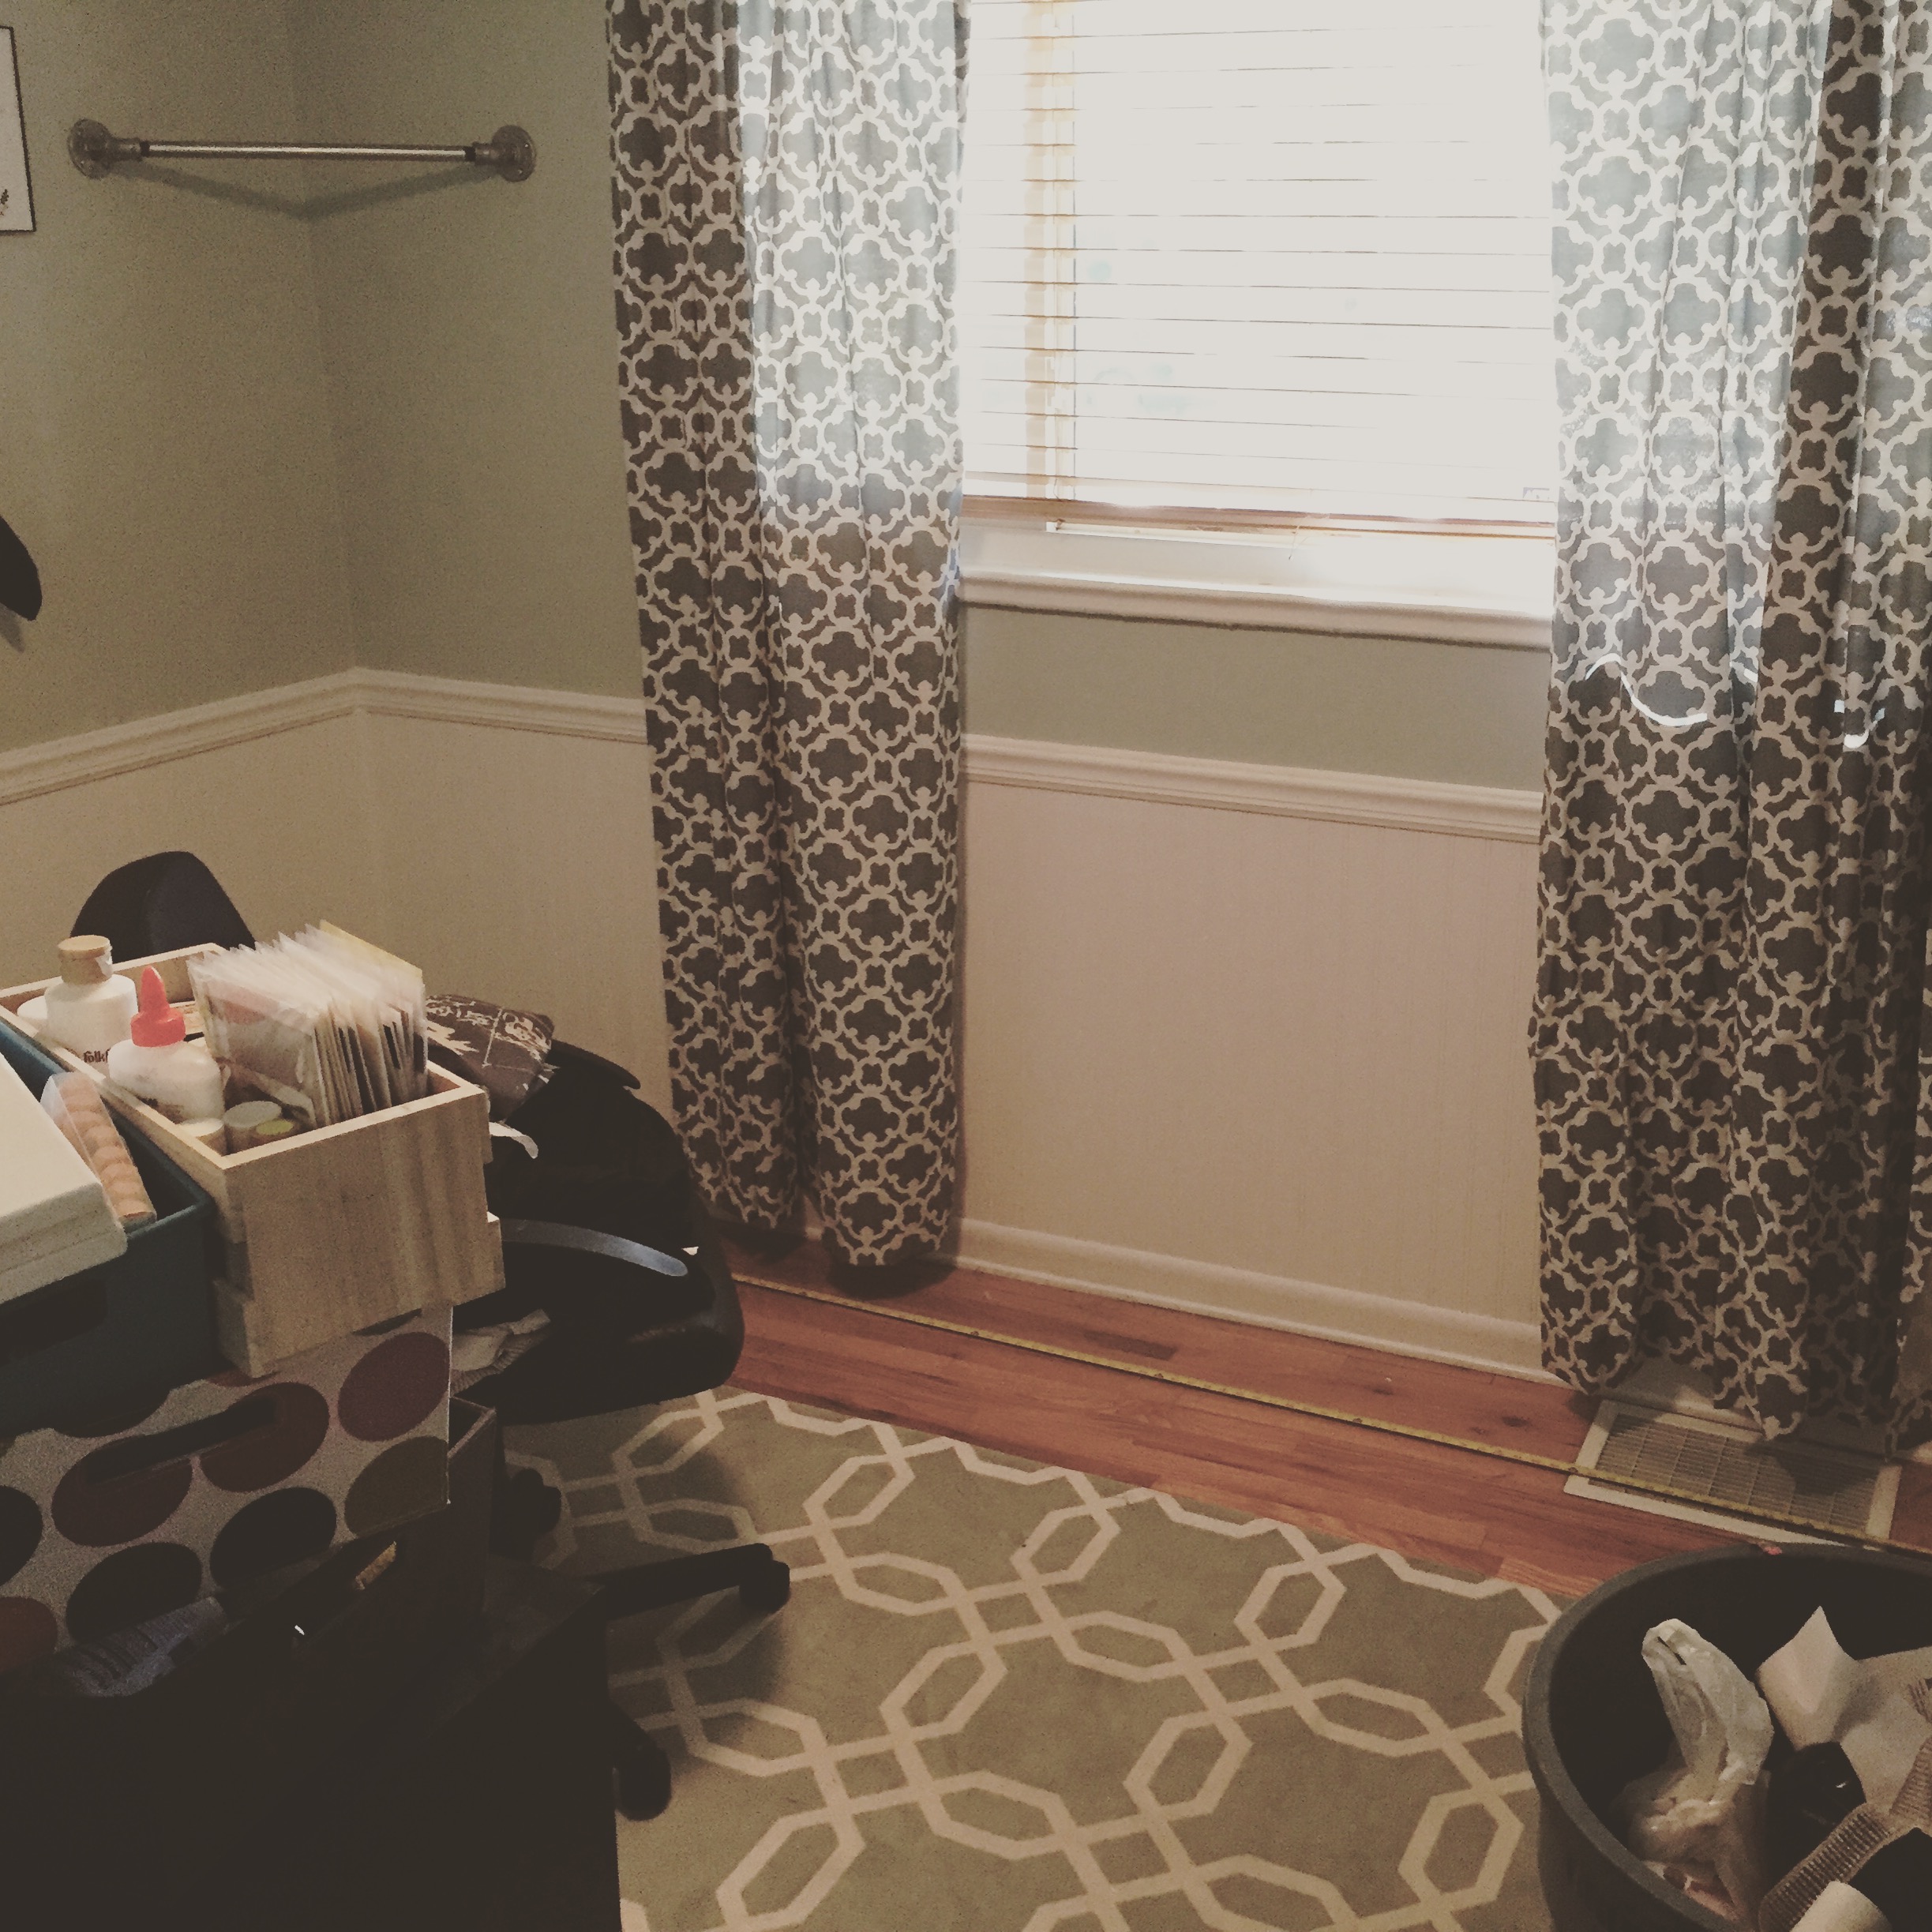
I also had to say adios to my dressing bar... sad.
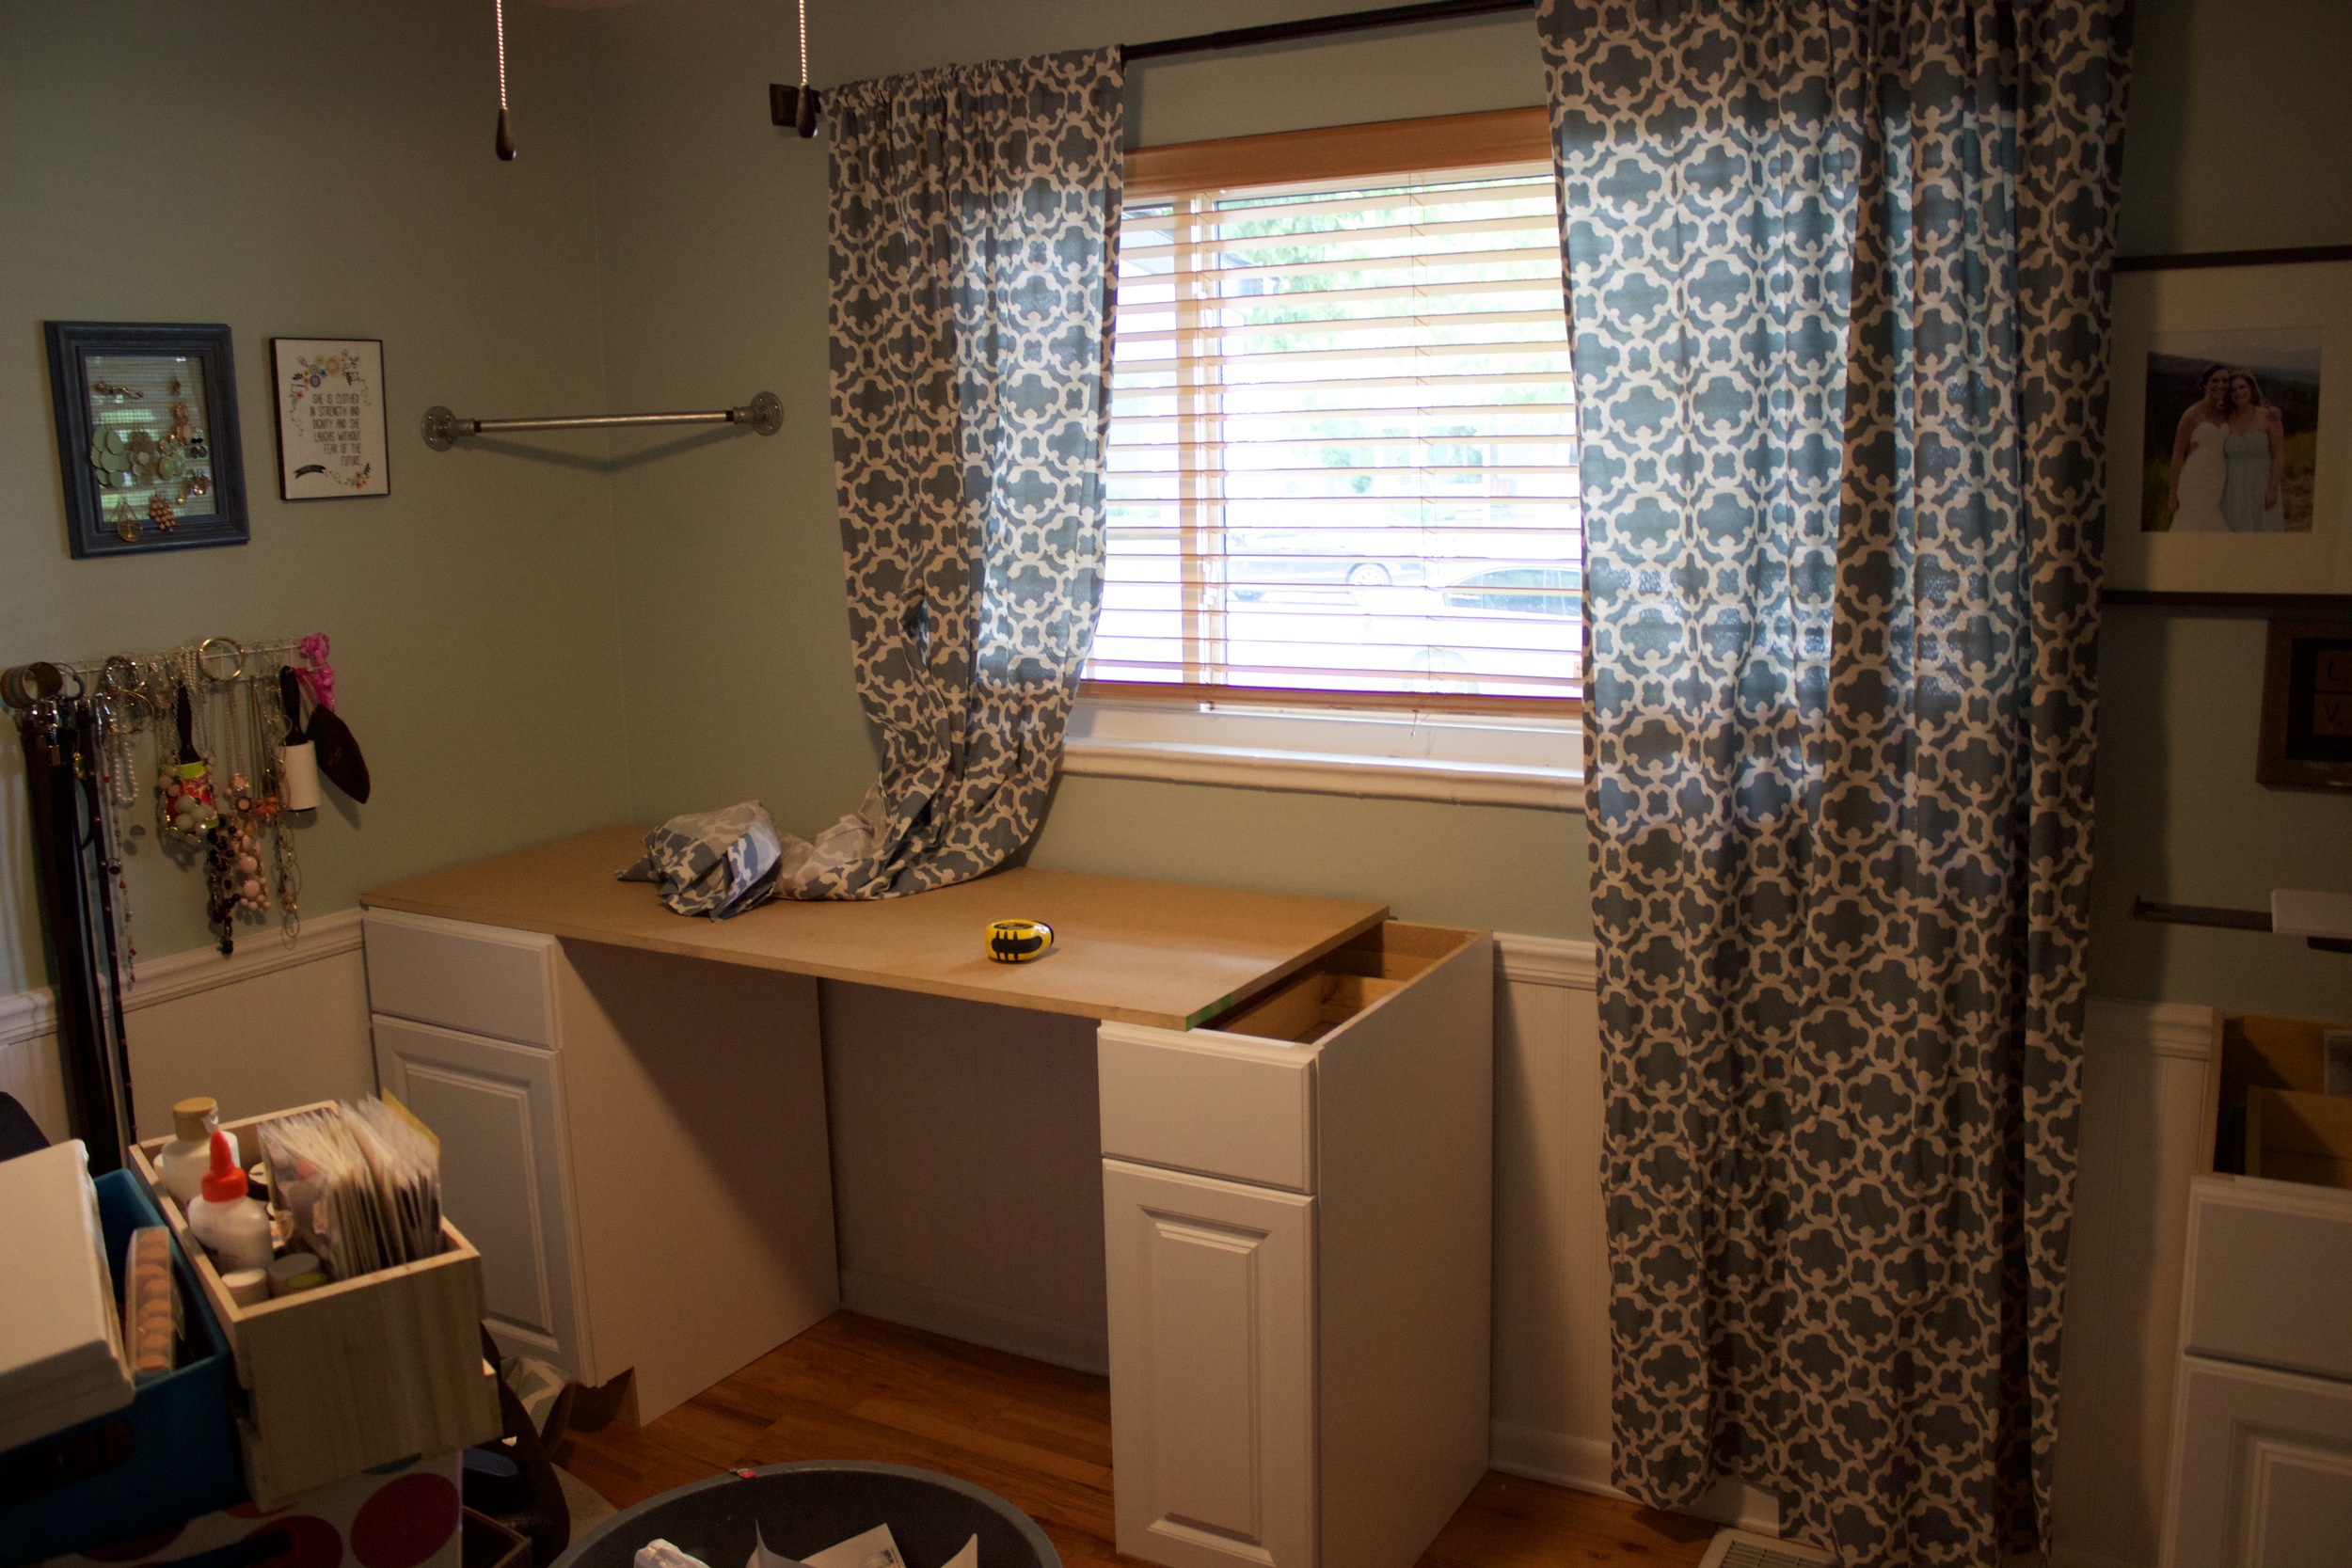
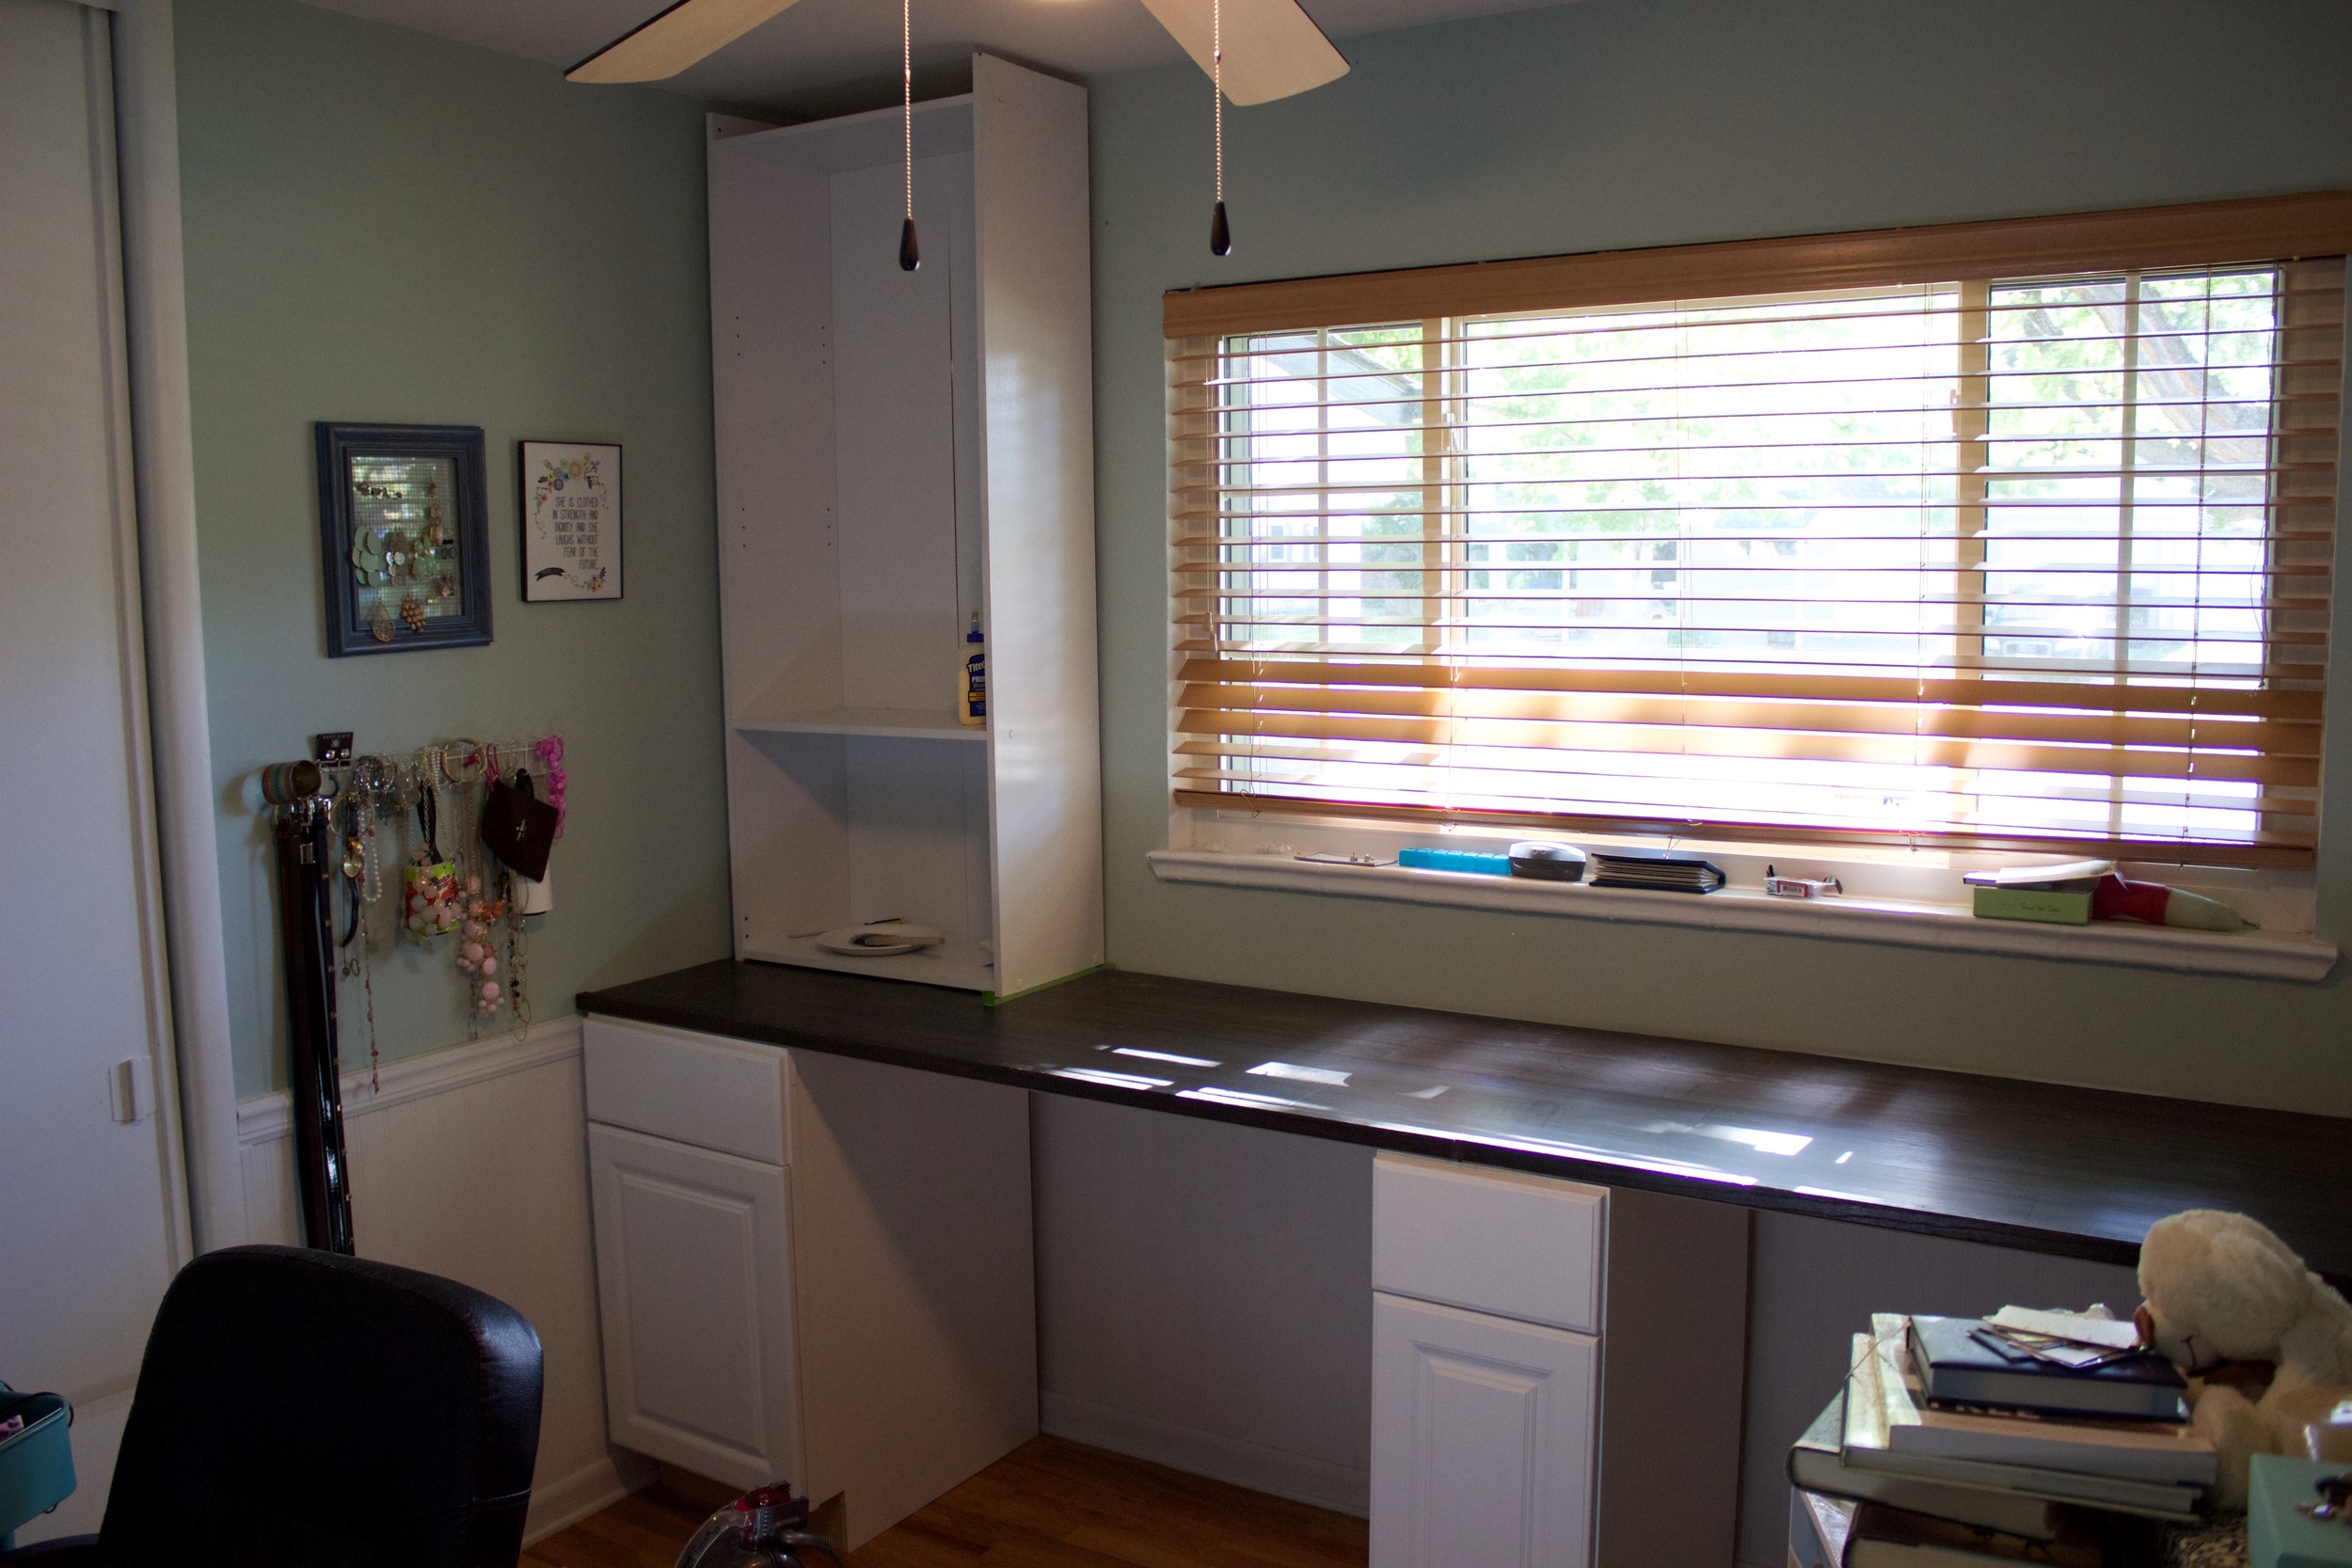
We had kicked around a lot of idea of what to do with the double desk situation that needed to happen. In the end we went with what would be the most simple: a double desk "built-in" made from stock cabinets at Home Depot, plywood, and laminate flooring.
We picked up two 18 inch lower cabinets (they each have drawers) and one 12 inch guy for the middle. When putting the plywood down we cut the slab in half and then used L brackets to attach it to the wall.
Once we got the slab all the way across the top, we stopped for a few days because we had to figure out what we were going to do for bookshelves on the top of the desk. Originally, I assumed we would do Billy Bookcases from Ikea. However, they were way too tall and as someone who has tried to cut Ikea crap before, we knew that trimming them would NOT be simple.
So, LB found these on Amazon for $97 each (picture is linked):
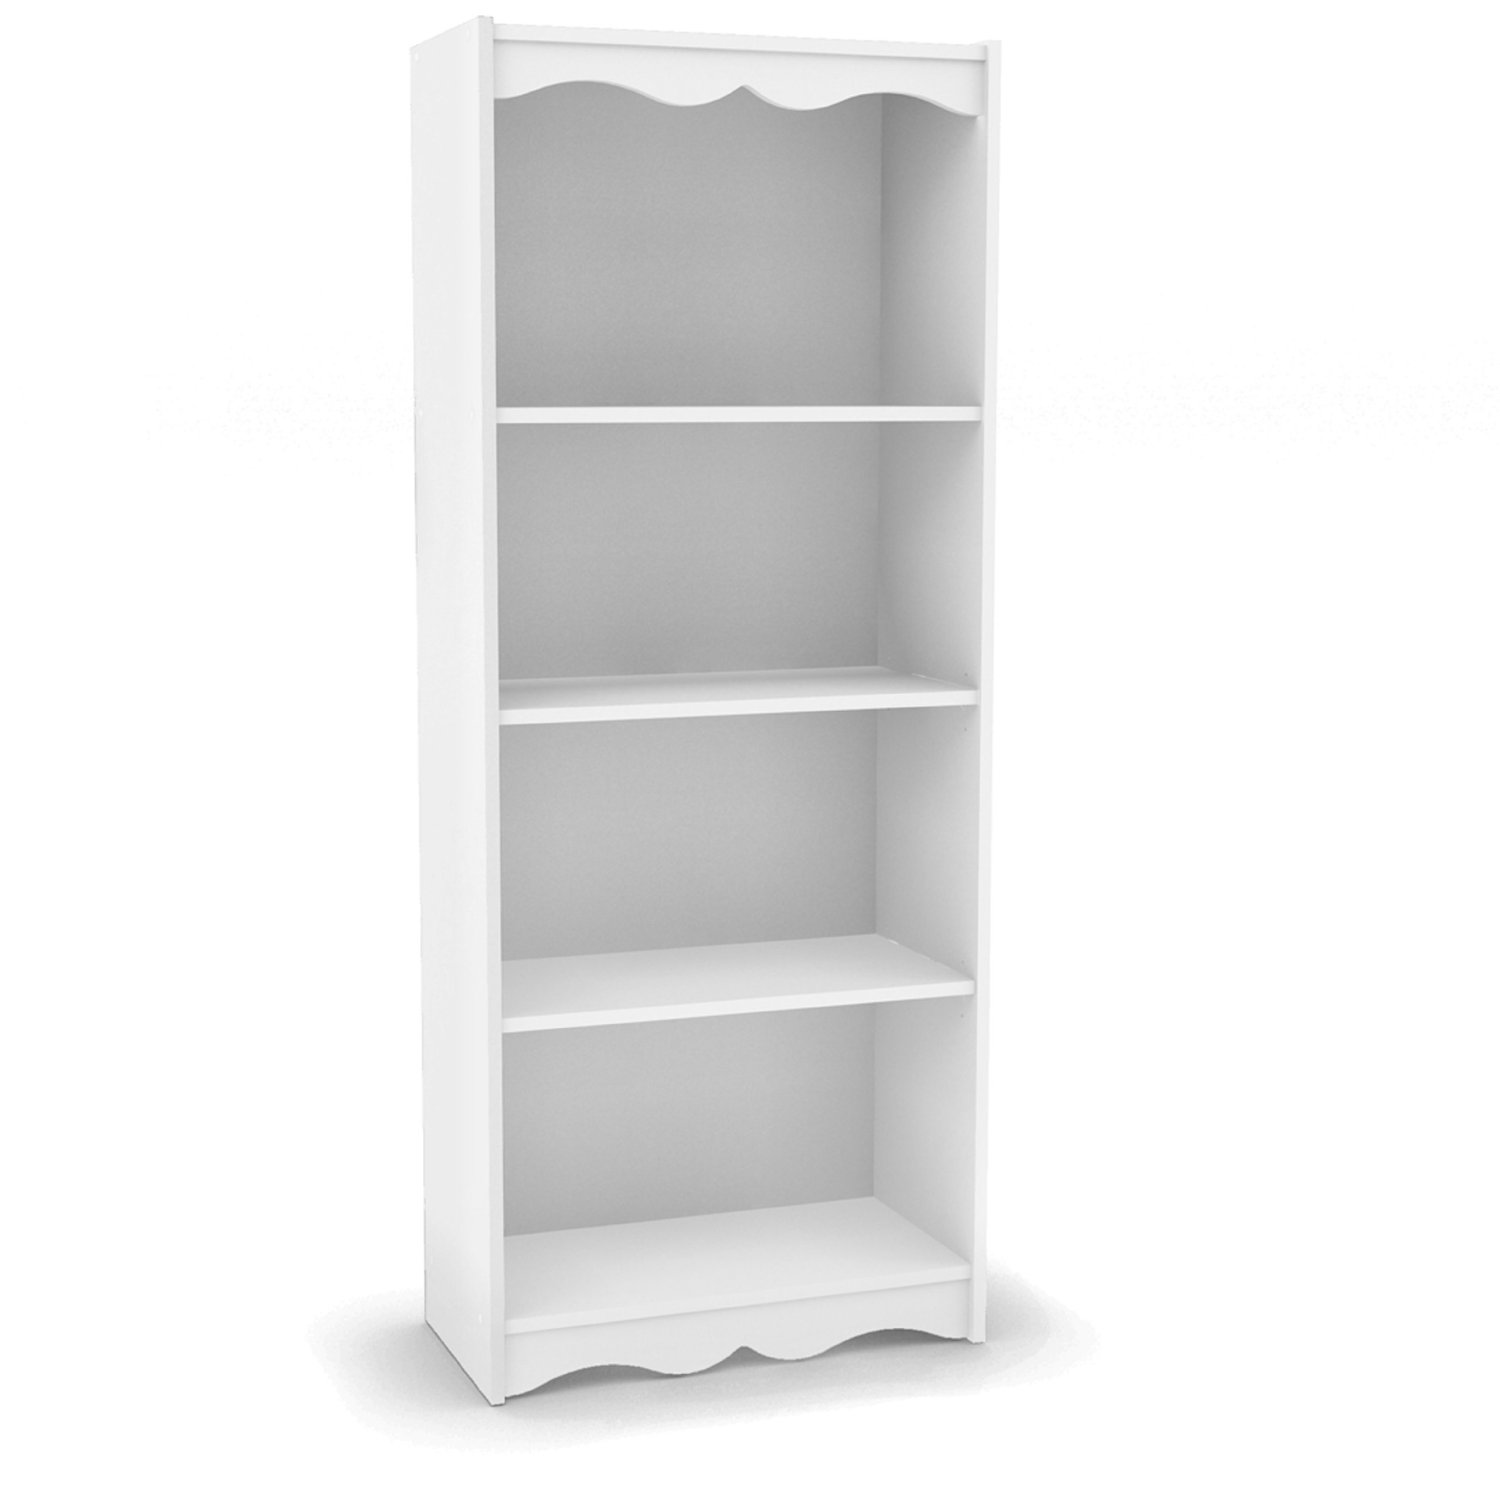
They were the perfect height and price. Once they arrived we realized that the decorative pieces weren't attached already. Which was great because I hated them for this project and was planning to saw them right off.
We once again used an L bracket all the way at the top to attach these to the wall and left space at the top for crown molding and trim to be applied down the road.
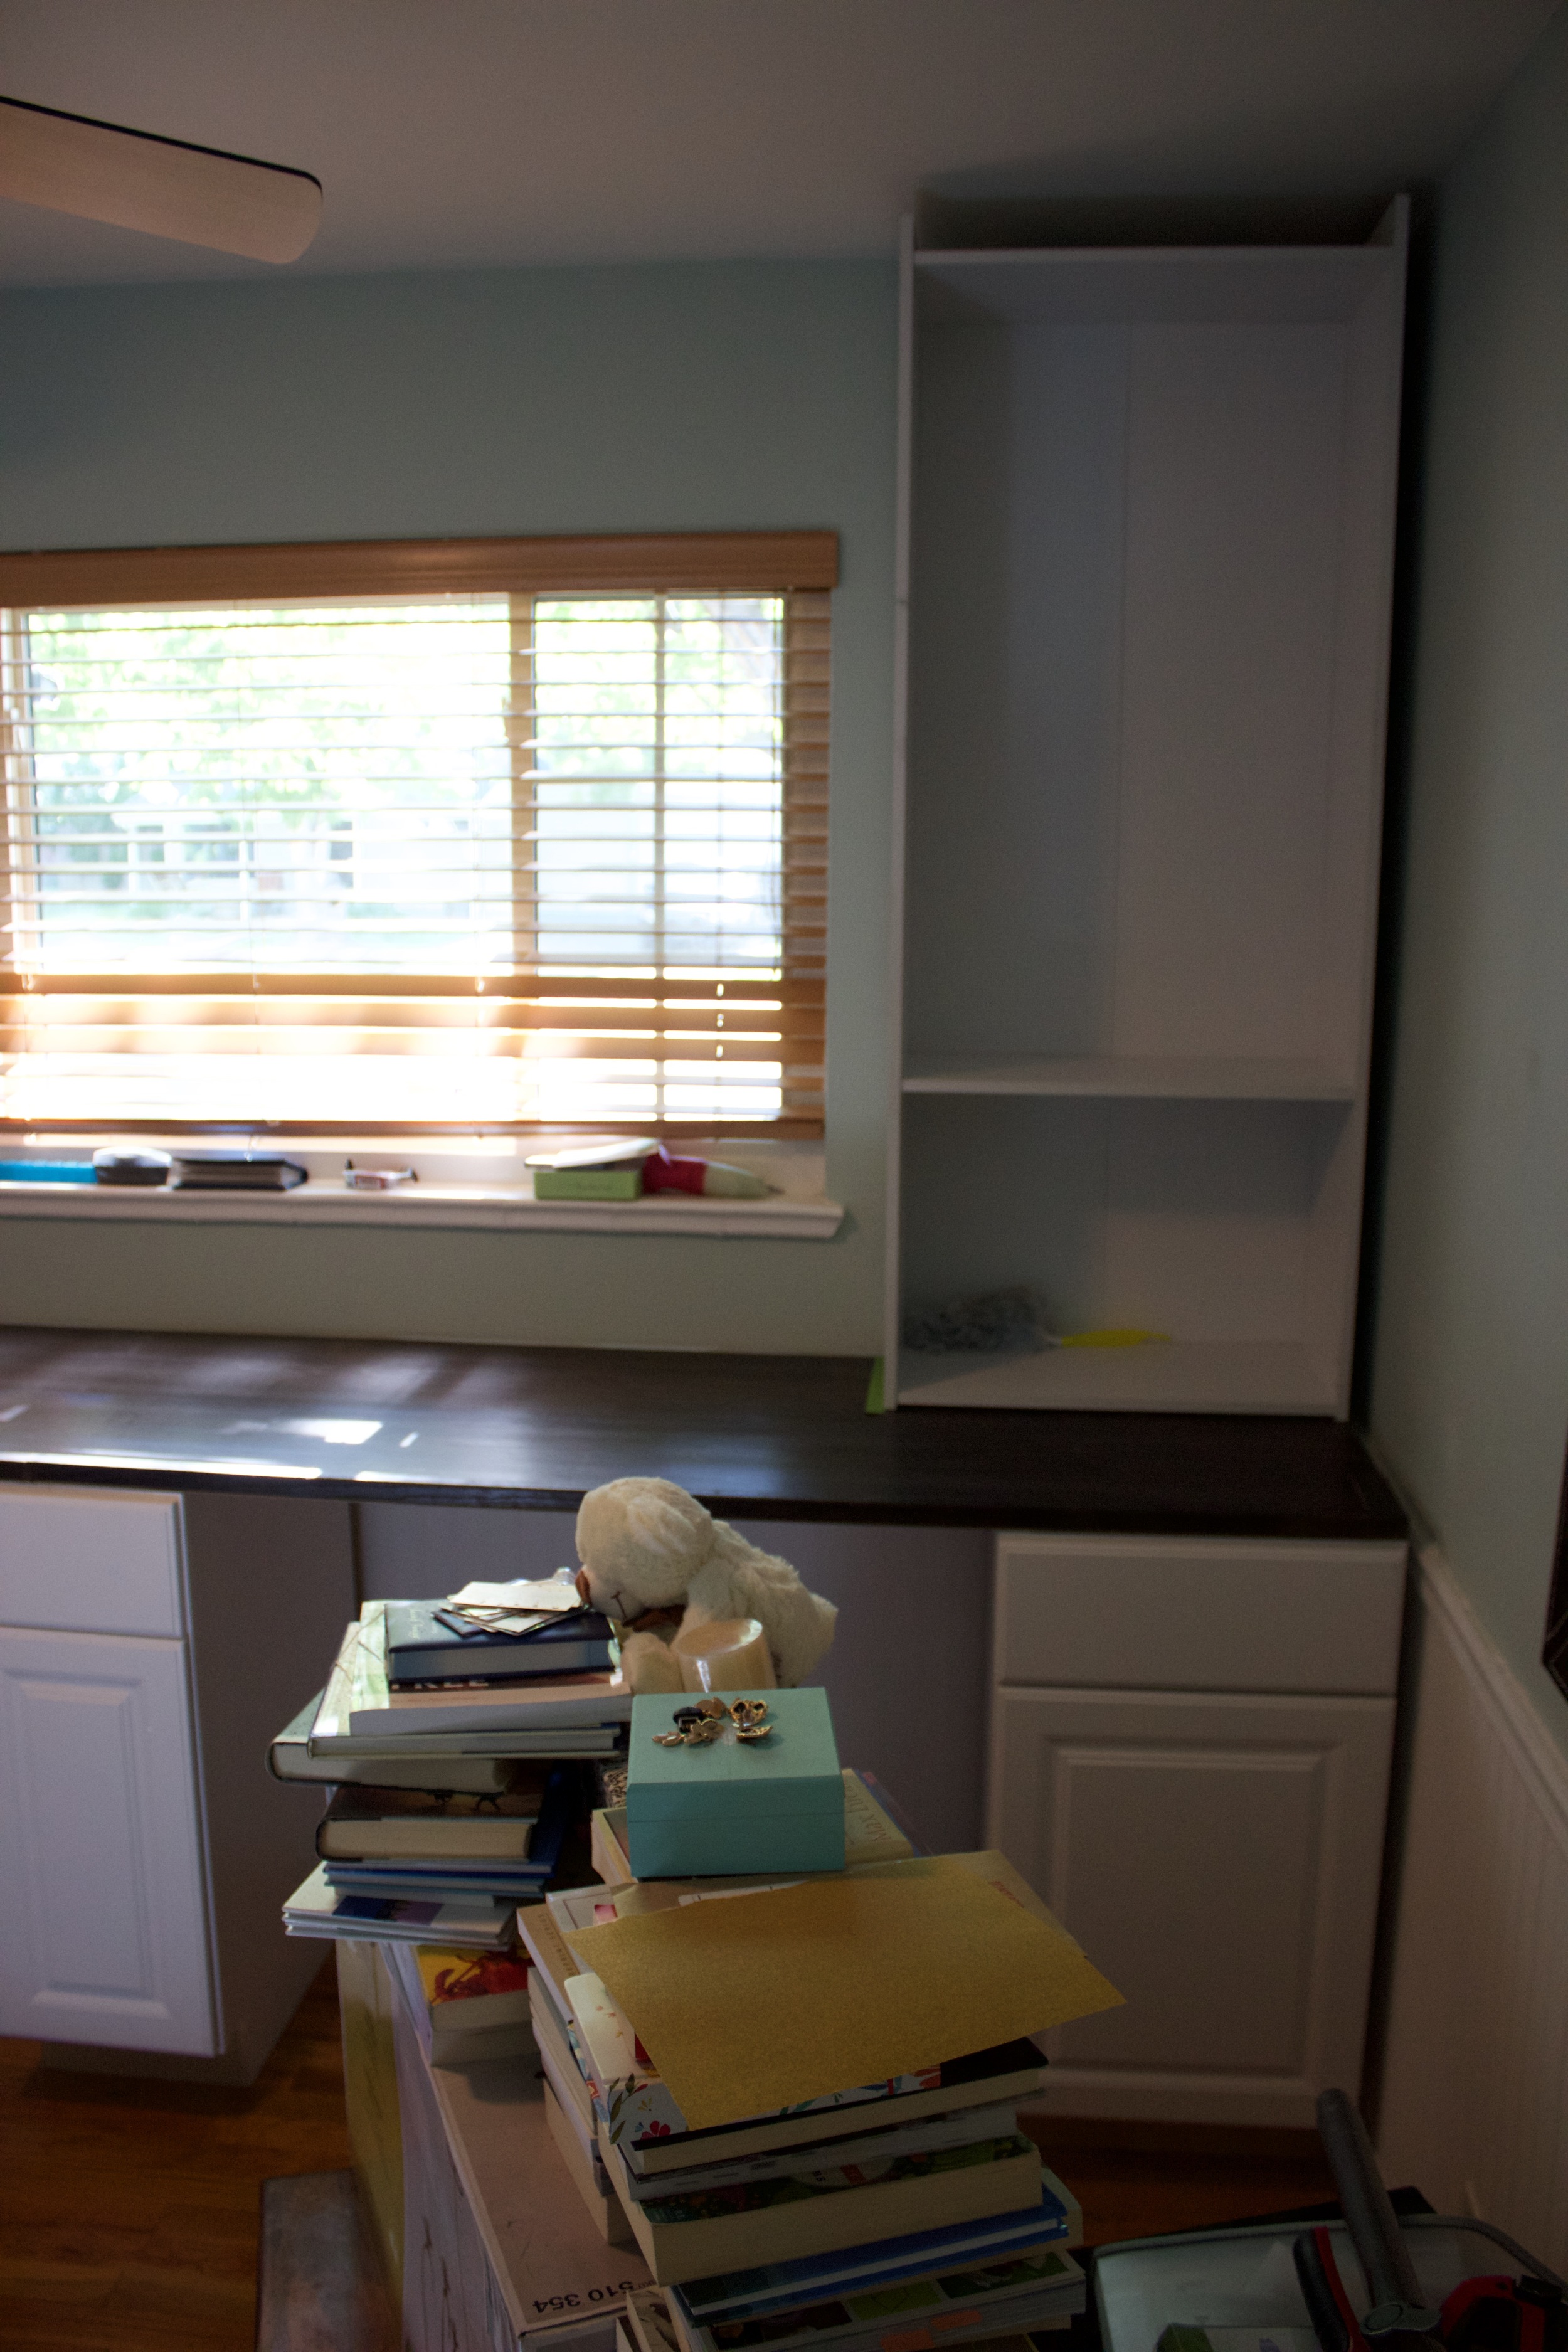
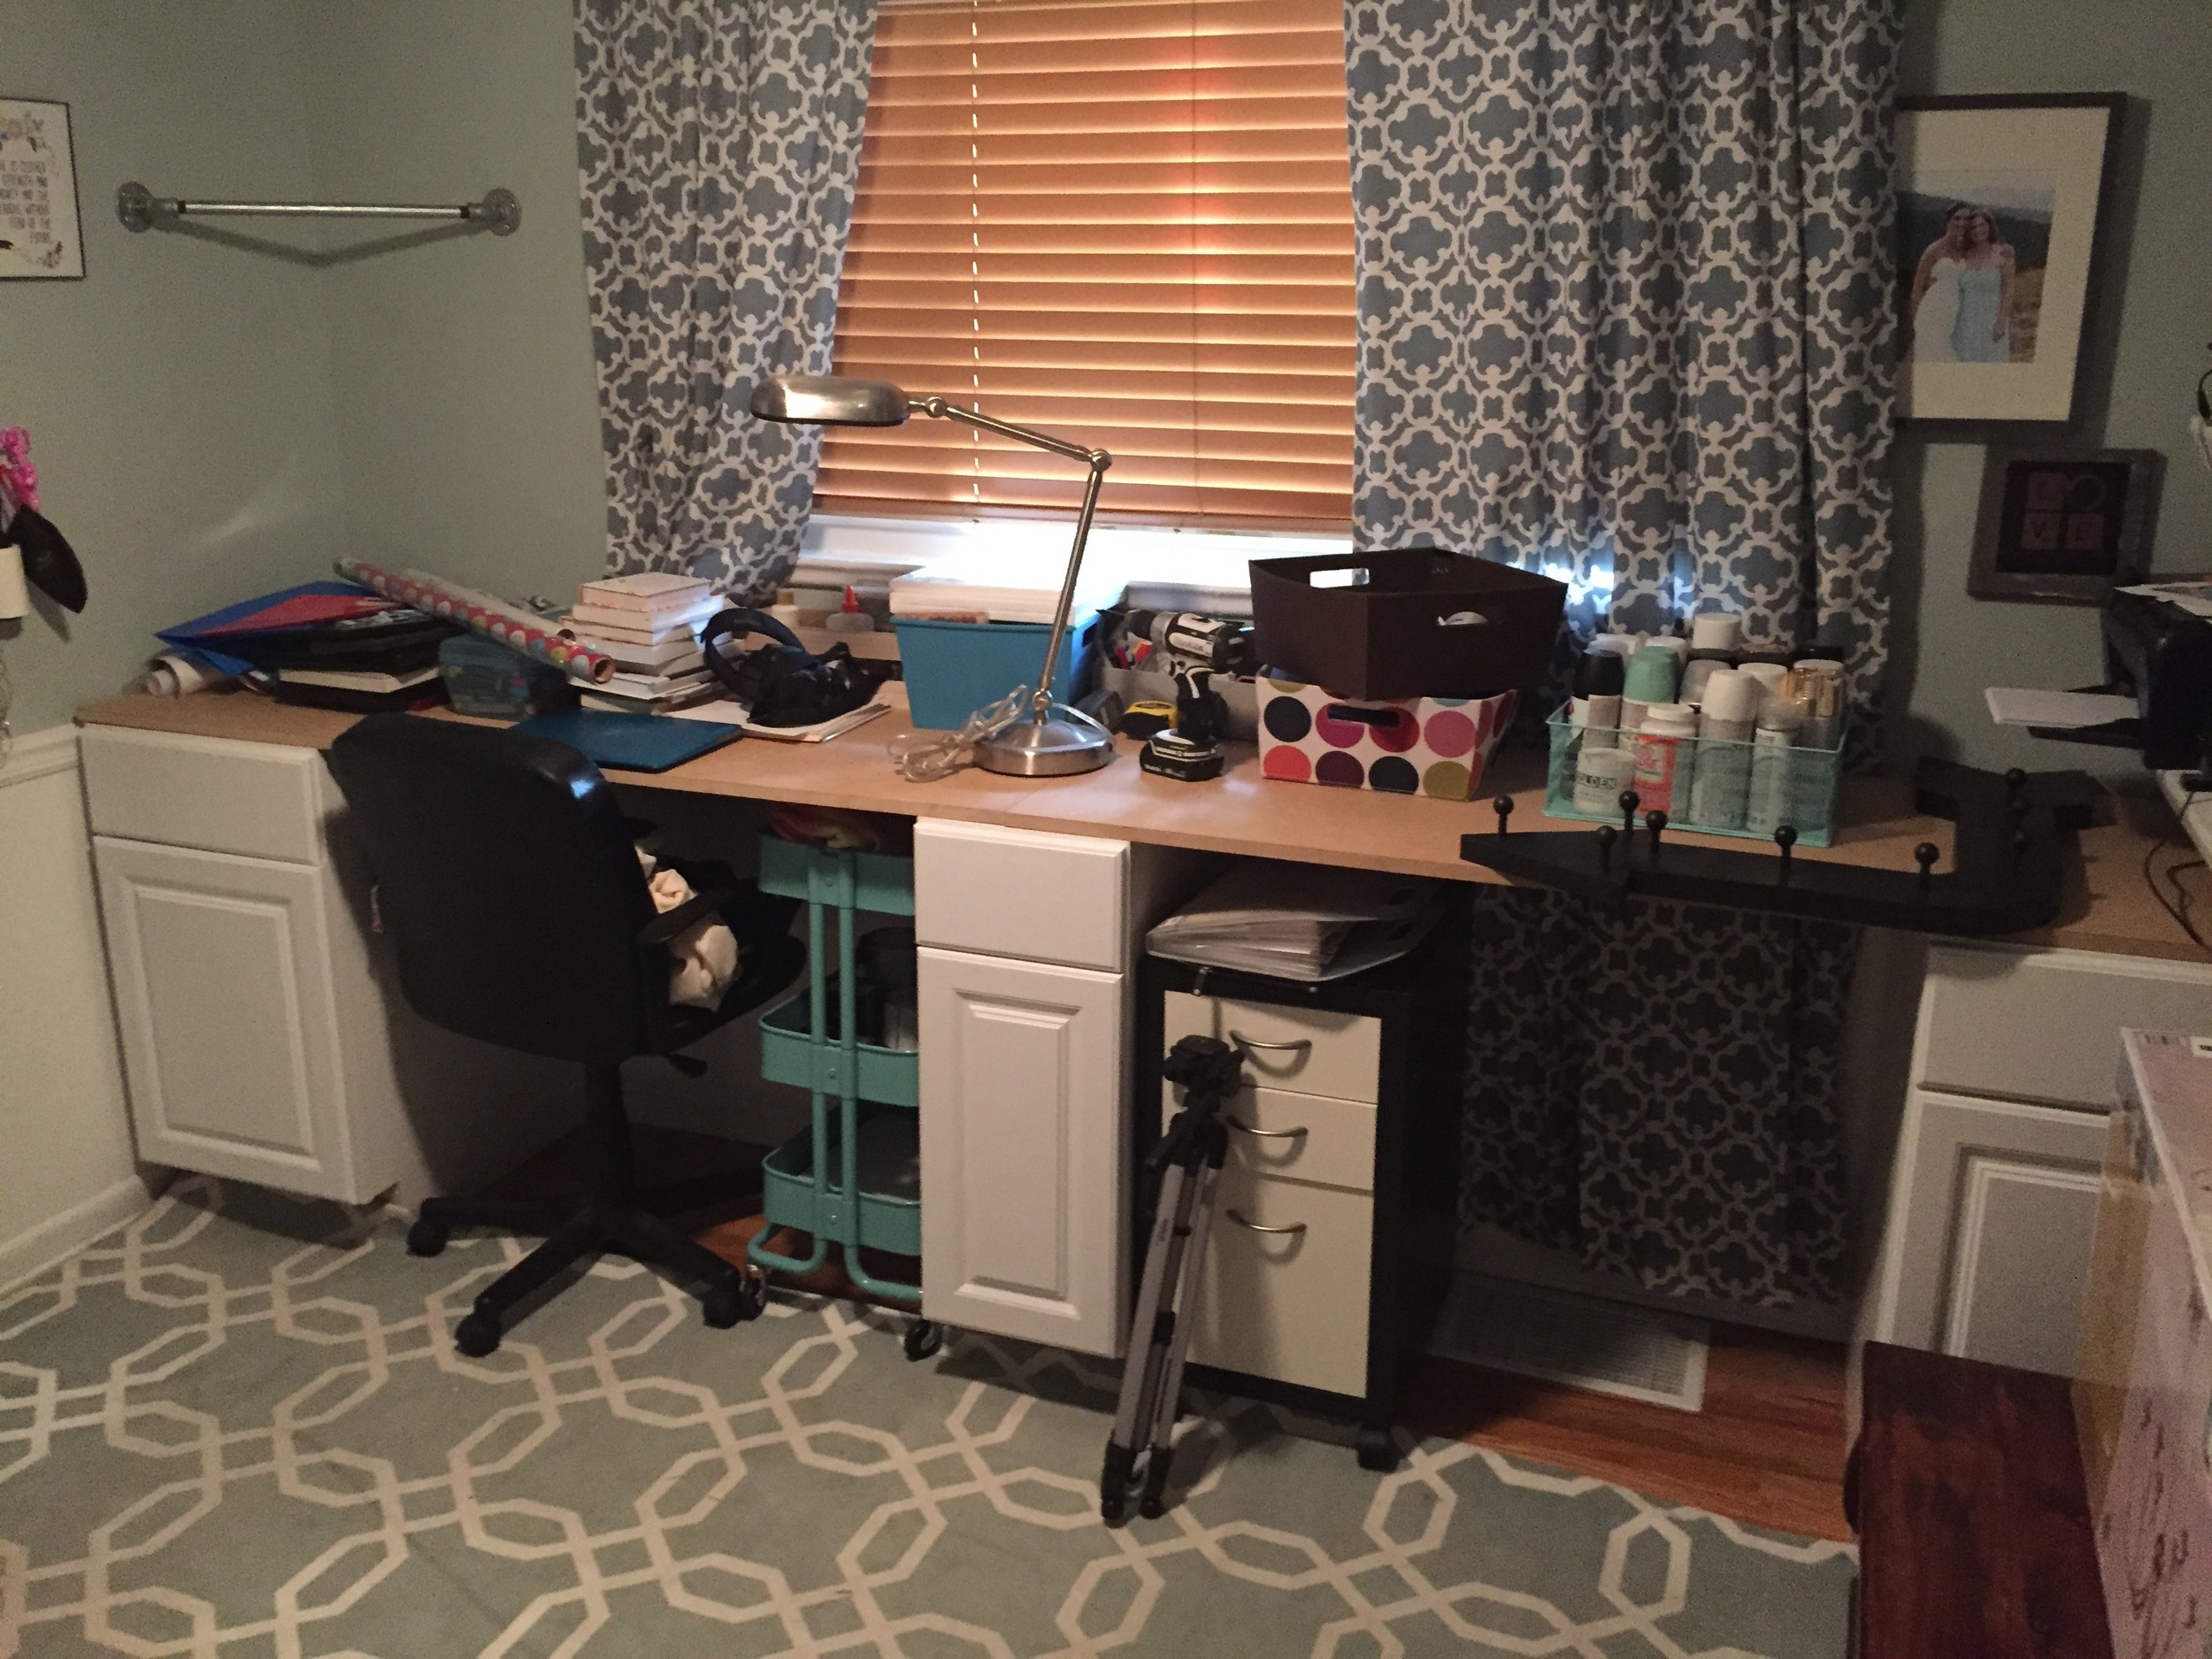
As for the top of the desk, we just picked up some Allure Laminate flooring and using an X-acto knife and some tape for the lines, trimmed it up to fit. In hindsight- I'd get a piece of wood that I could stain and call it a day/the desktop.
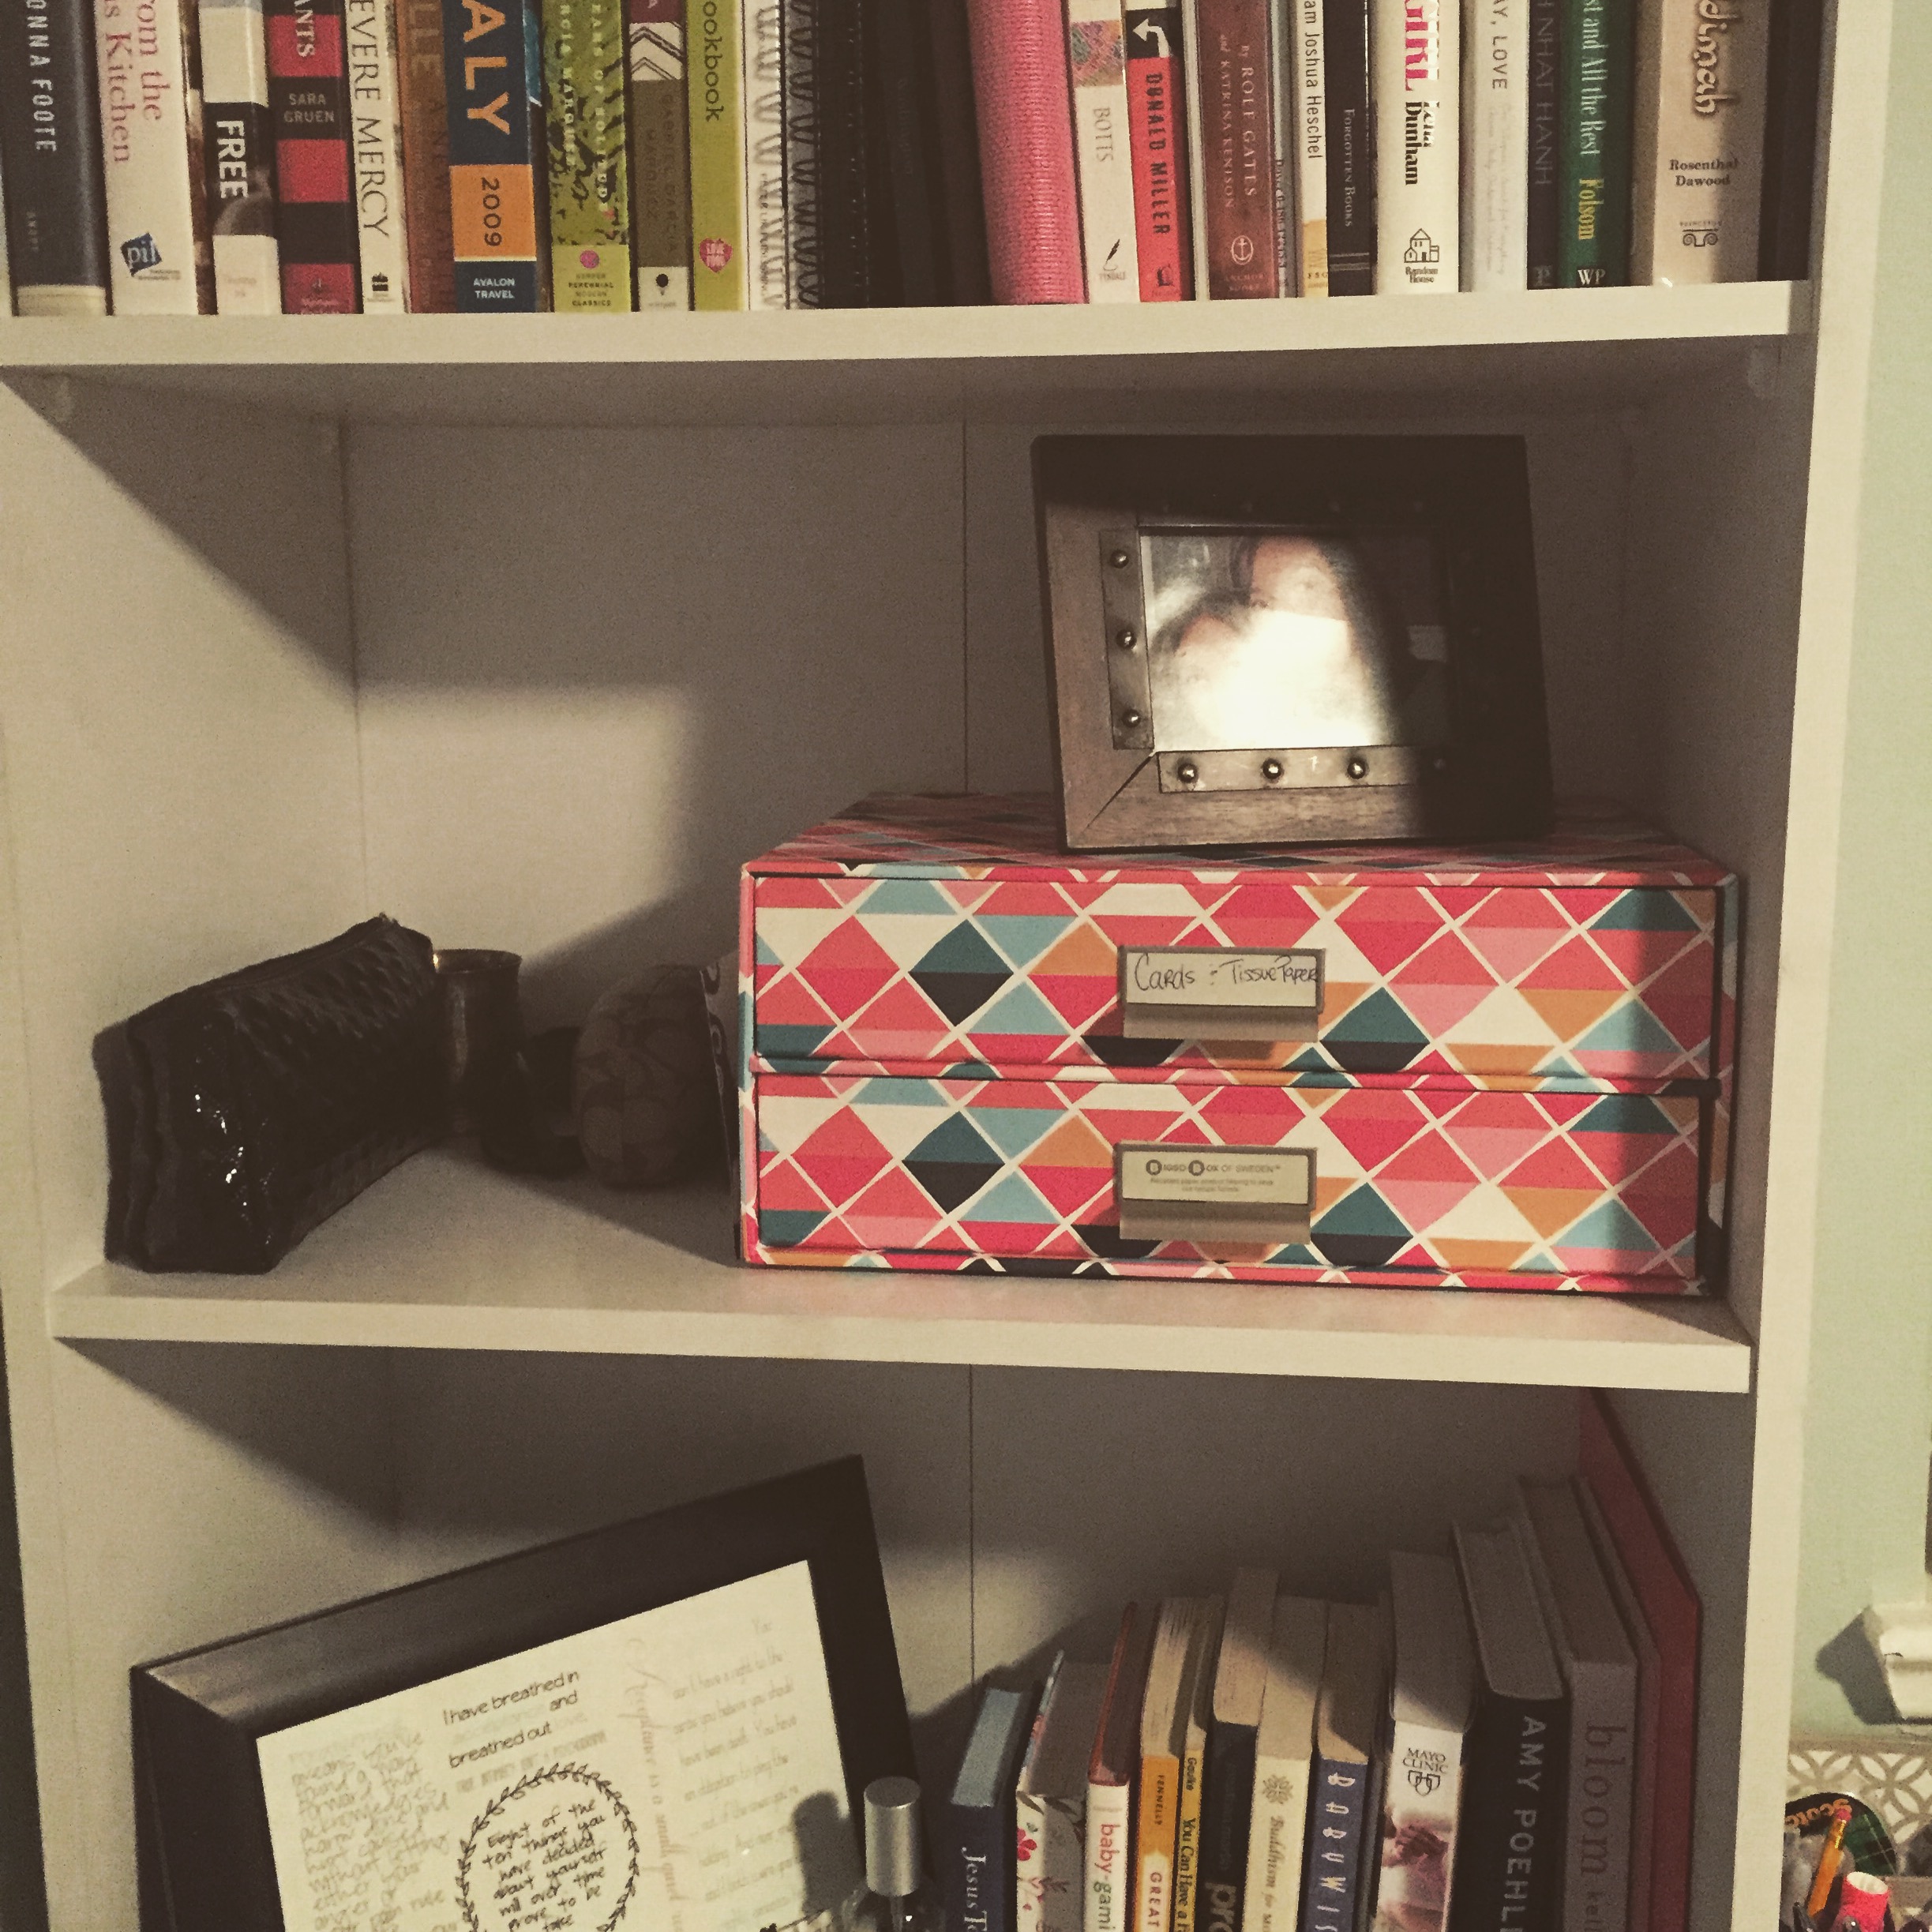
The bookcases are all loaded up now, but we still have the trim work and the other wall to deal with (read: finding a futon/couch/daybed that we like for that space and clearing out the pile of tools that got moved in here from the nursery. We need a shed people. We need a shed real bad).
So stay tuned for the final word from our office...